Not so many posts on the site so I thought I would post even though I'm not sure what the outcome of this part of the project will be.
I have been procrastinating for far too long on what I was going to do with the Mark 4 dash. Having been inspired by all of Brett's custom work I felt brave enough to try this myself. It all started as I just wasn’t happy having only two central air vents for the face and no side vents. Having driven a Nova a lot in hot weather I know the Nova needs airflow.
So I had purchased some vents that I think could look nice, but it would require a complete remodeling of the dash to get them to fit and look like they were suppose to be there. There were a few things I wanted to address as part of the redesign :
1) Raise the top of the dash to allow for as much space as possible underneath for the heater / aircon and other gubbins to they don’t interfere with peoples feet.
2) Make the top of the dash removable for four reasons. 1) to make it easier to trim, 2) to make it easier to attach / adjust pipework to vents 3) Adjust aircon / heater mounting, 4) get to wiring behind gauges etc..
3) Make the vents look like they were designed to be there
4) Provide sufficient cover / recess for the gauges to prevent glare on the screen
5) Provide a space for the stereo / back-up camera LCD faceplate
6) Provide a space for the heater / aircon controls – I bought some nice MG alloy ones that look the biz.
I did buy some stretchy fabric to do the job, but that assumes you know the shape you want and have some parts / formers to stretch over. I don’t quite know what I want so this will be a process of discovery as I go. So on that basis I went for the expandable foam method instead. I will make a buck using the mark 4 dash as a base to ensure key reference points are in the right place (remember my car is 6,000 miles away!).
I don’t know if this will work, so need a plan B. For that reason I don’t want to destroy the mark 4 dash in the process so I have wrapped this before applying the foam.

Rather than trying to cover the dash all in one go I decided to do it in stages, so used some cardboard to try and contain the foam (semi-successful).

Next removed the cardboard to move on the next section (to be continued)

In order to model it without digging great big holes to push the vents inside I decided to make fiberglass faceplates of the vents. This served two purposes, 1) being slightly larger than the vent itself means there will be an automatic gap for fabric when the dash is trimmed, 2) I don’t destroy the new vents in the process of making the dash. I still need so lay another couple of layers of fiberglass on them to stiffen the covers up then trim them.

One of my challenges in this process is that I want it to flow into the centre console, which I can’t model easily without the car being here. I also want to raise the back recess behind the dash to allow for more space. From my test fit of a mark 1 dash in the UK I think the back part of the dash can be raised about 3 inches.
So this may all come to nothing as I can't check anything and am relying on memory and a few fixed points on the mark 4 dash, But I thought I would share the process anyway


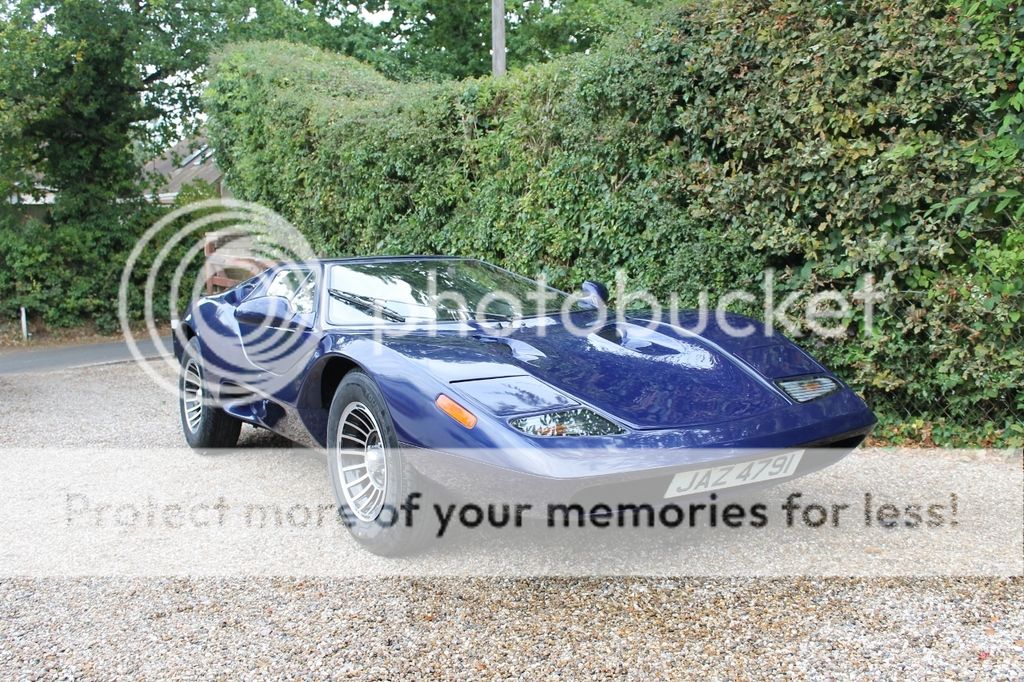


 The Subaru dash is intended for the scooby Nova, the brown one. This is dash is for the blue one, as it already has its column in with mounts etc... plus and existing heater / aircon unit fitted a scooby dash wouldn't work (still not sure it will work in the brown Nova). Brett in your build you never really detailed the process of getting to the second incarnation of your current dash (unlike the first), it just kind of appeared! Did you use foam sculpturing or the spandex method for that and did you make wooden formers to assist in getting the shape?


