What's new

Pog's Sterling (CCC293)

vpogv

Active member
I figured it is about time I posted on the US forums as I have been snooping around long enough. I will post a few updates over the weekend as it is hard to update 3 years worth of work in 1 post.

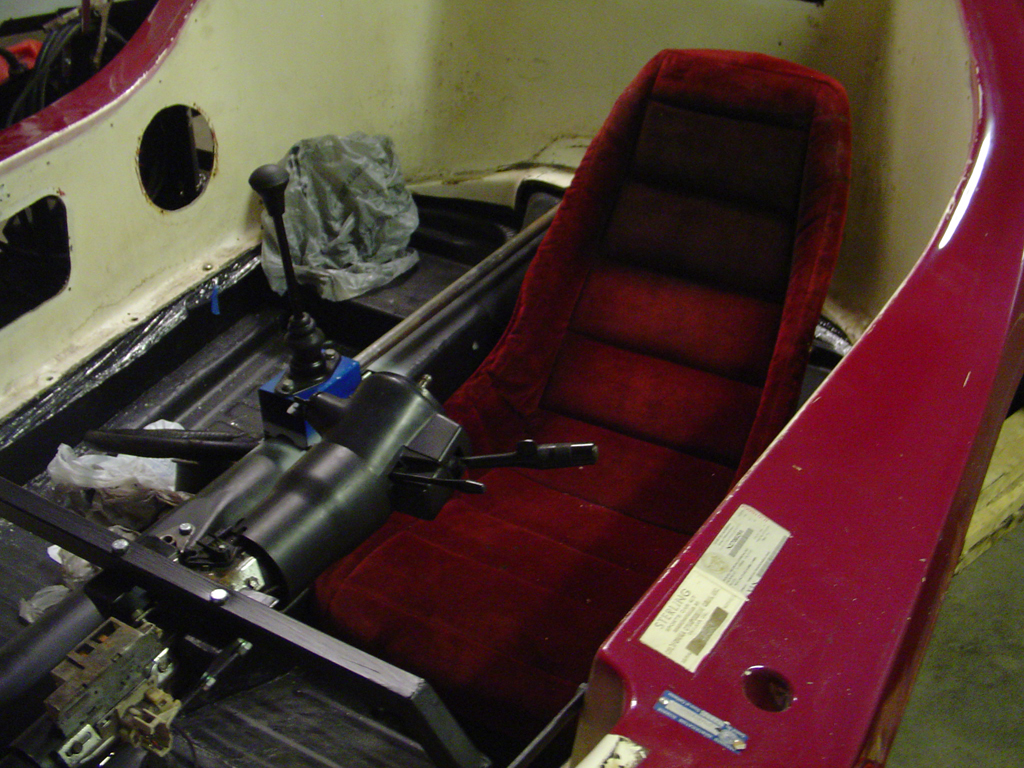
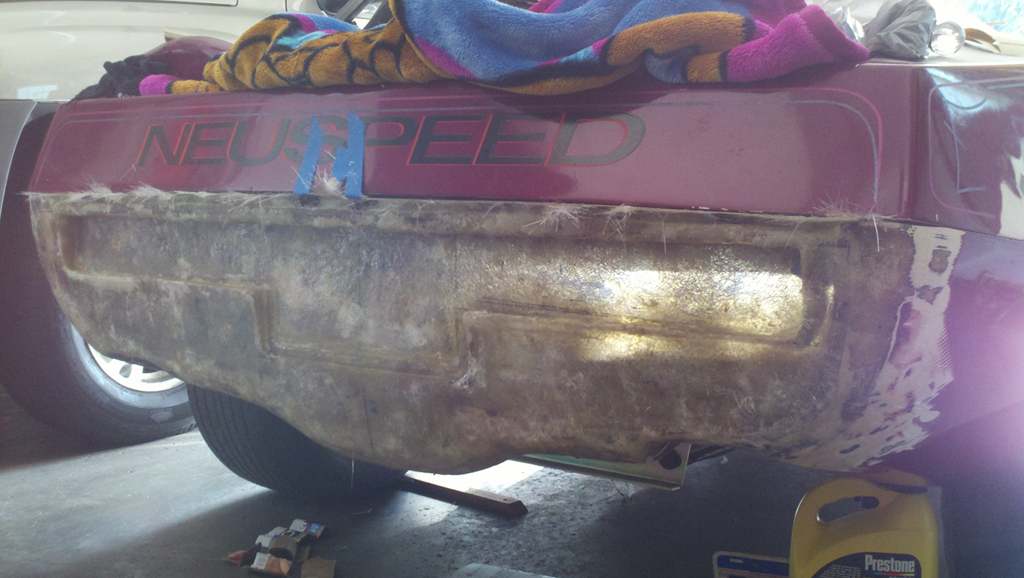
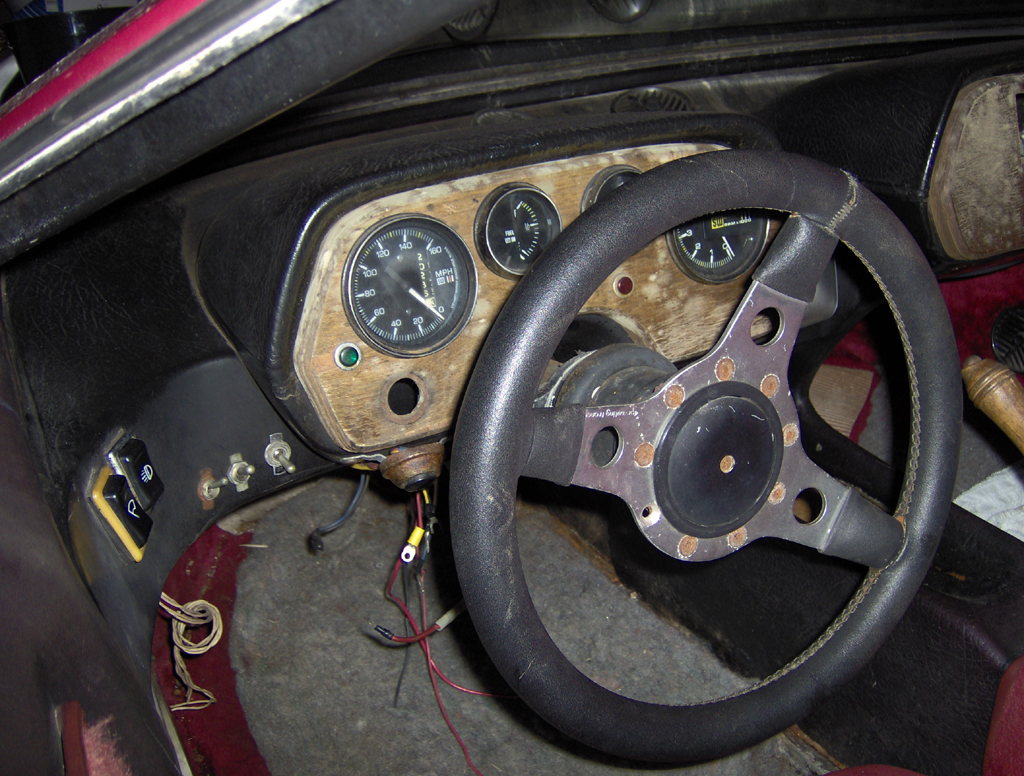
Picked up the Sterling semi-locally at the end of March '08. As some have experienced this was one of those Sterlings that "just needs wiring" but really means "take this complete restoration project off my hands." I was a little bummed that I couldn't wire it up and drive but I always enjoy a project so I threw it on the trailer, stuffed the Sterling and bed of the truck with the unattached parts and thus began the adventure.

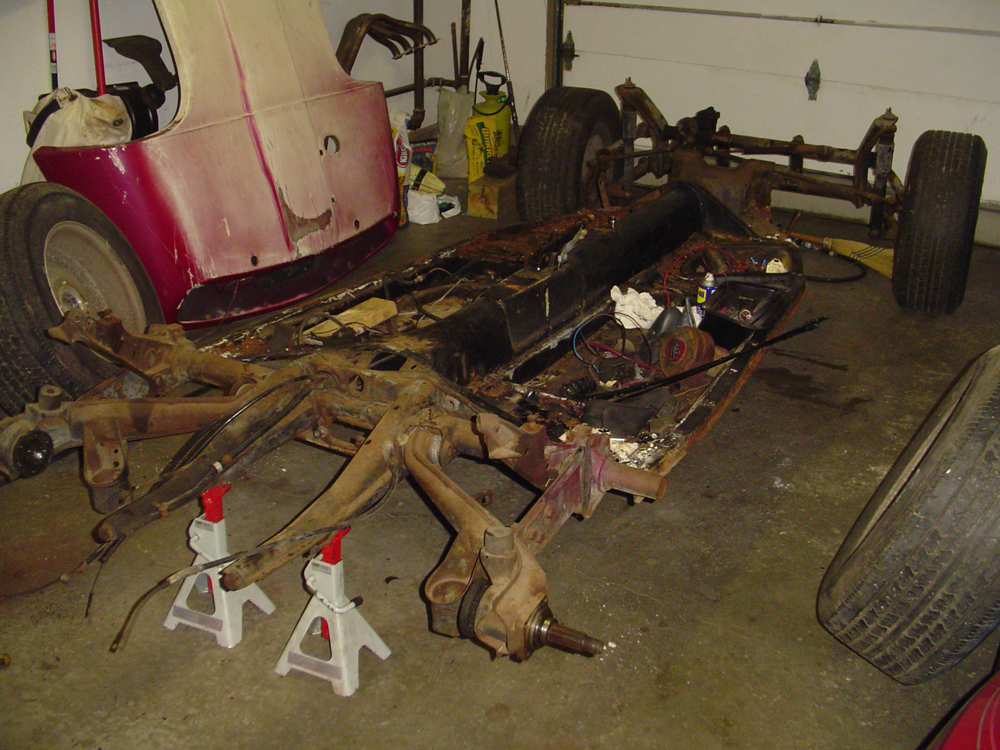
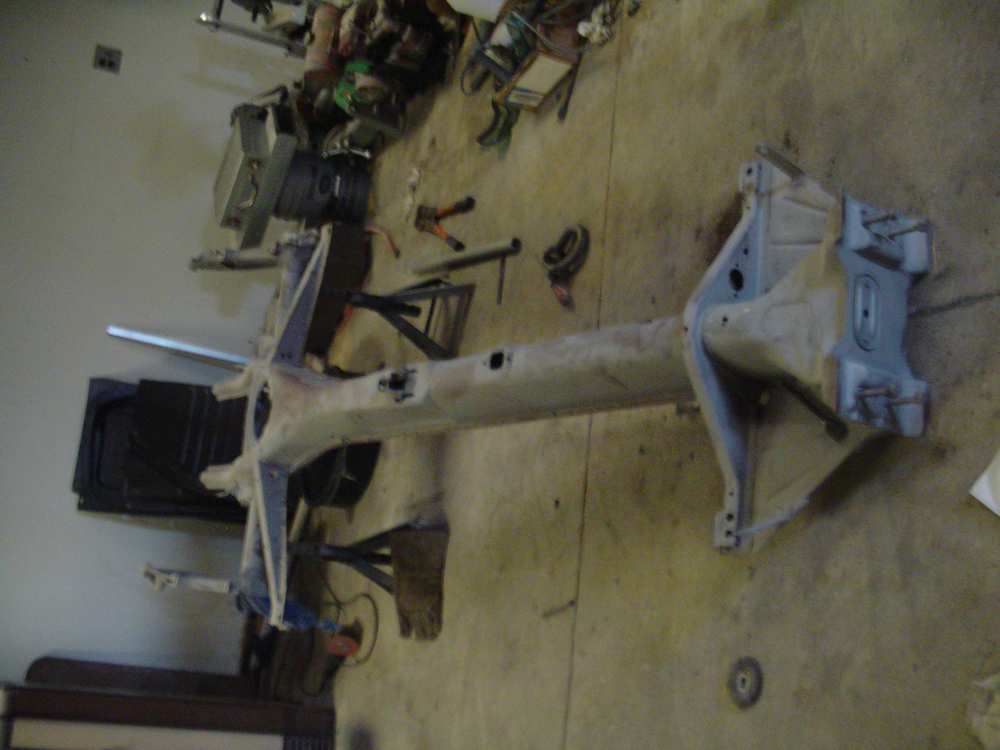
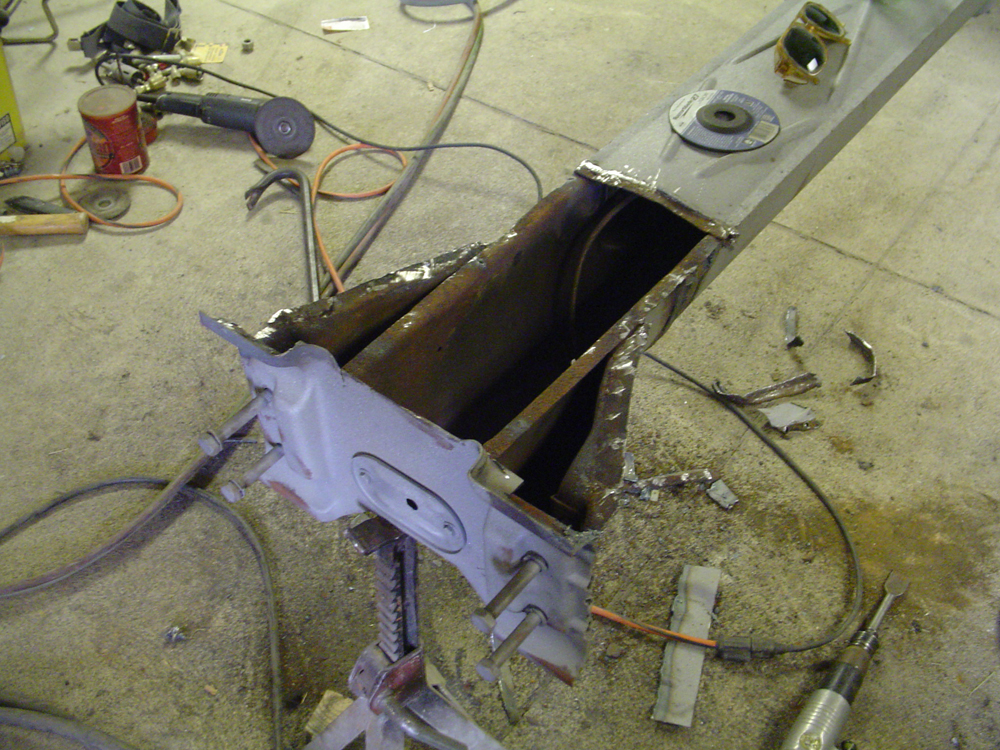
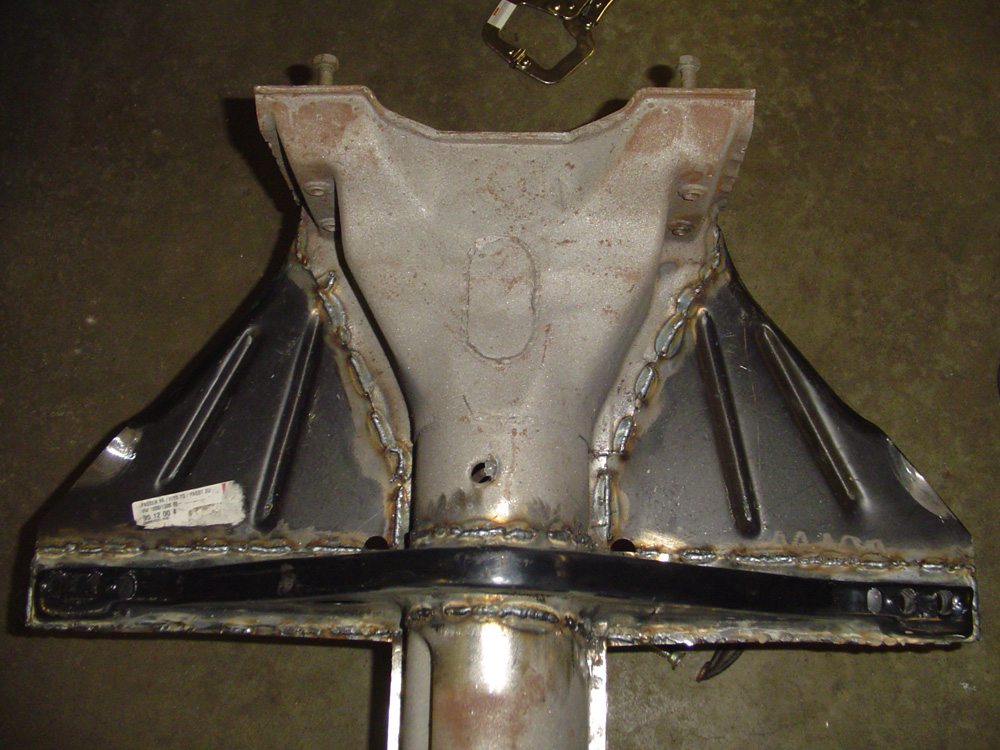
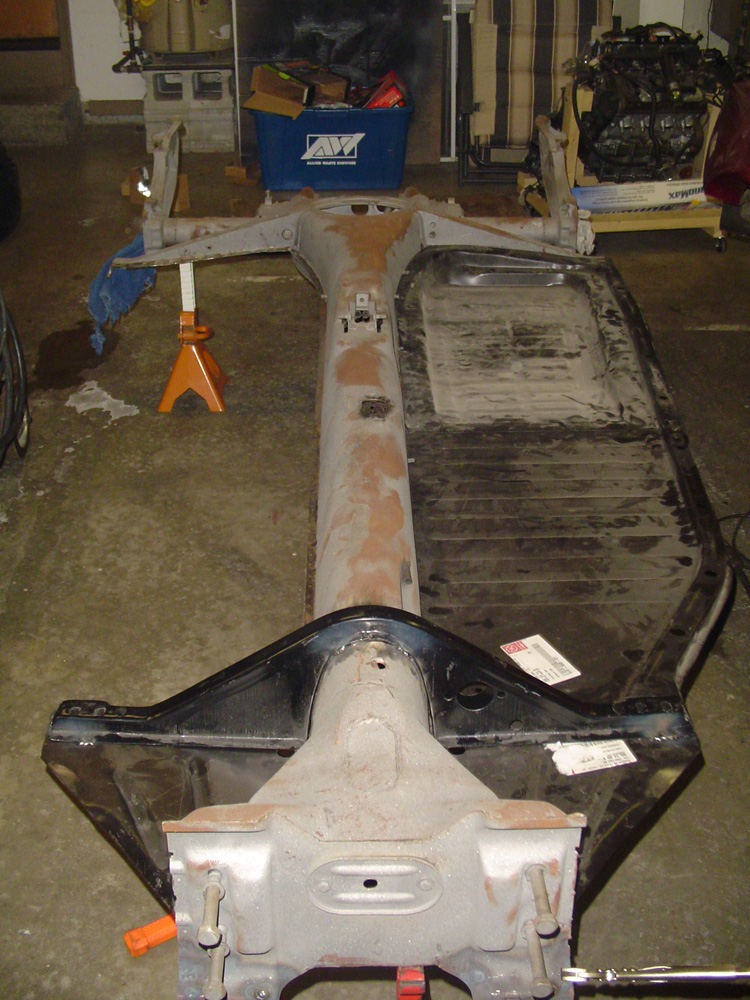
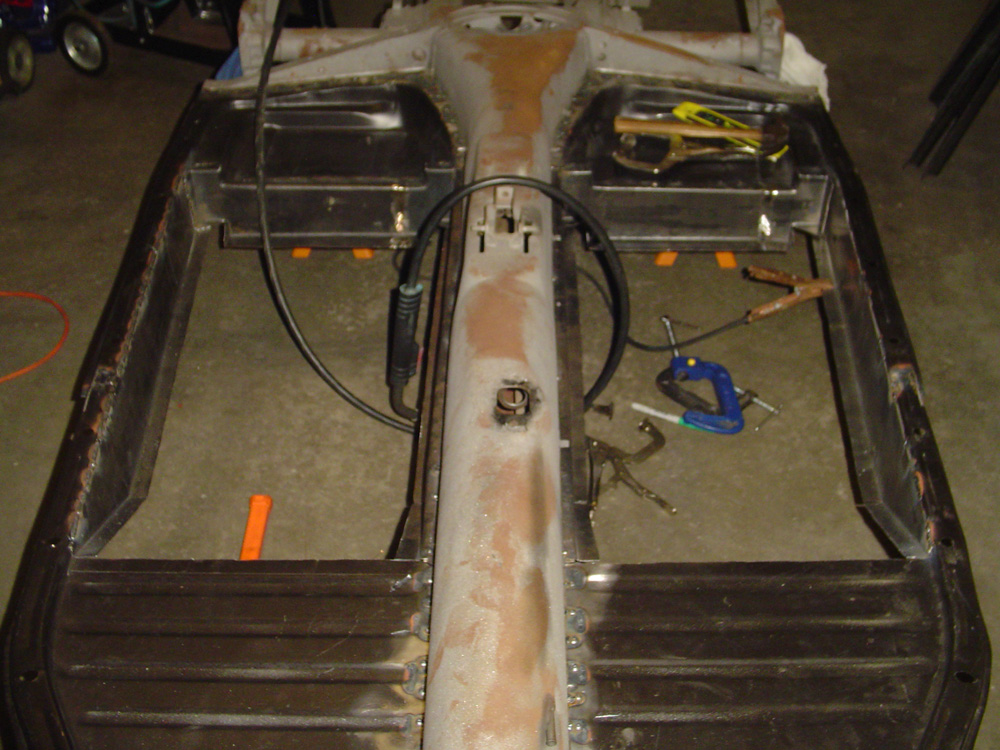
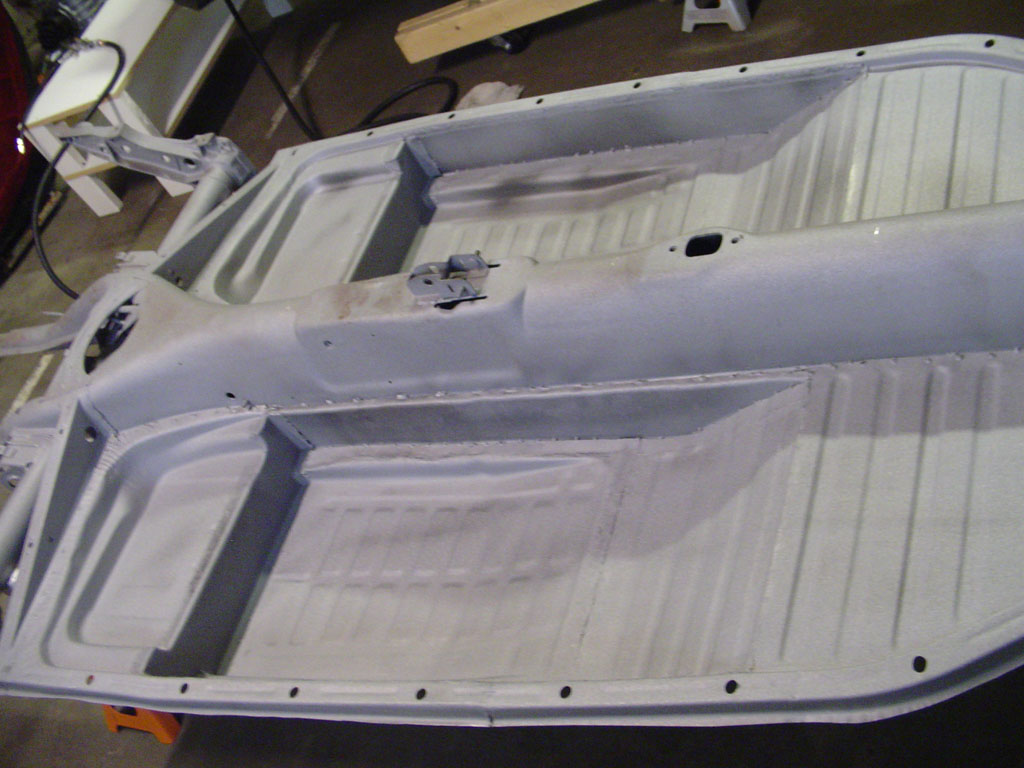
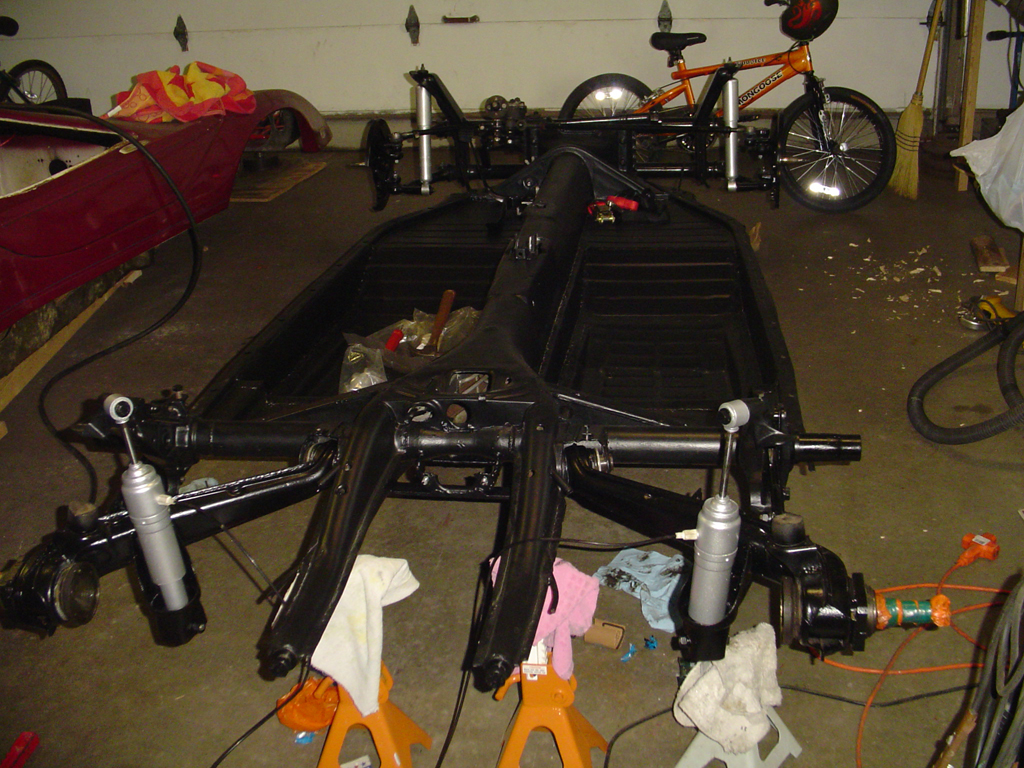
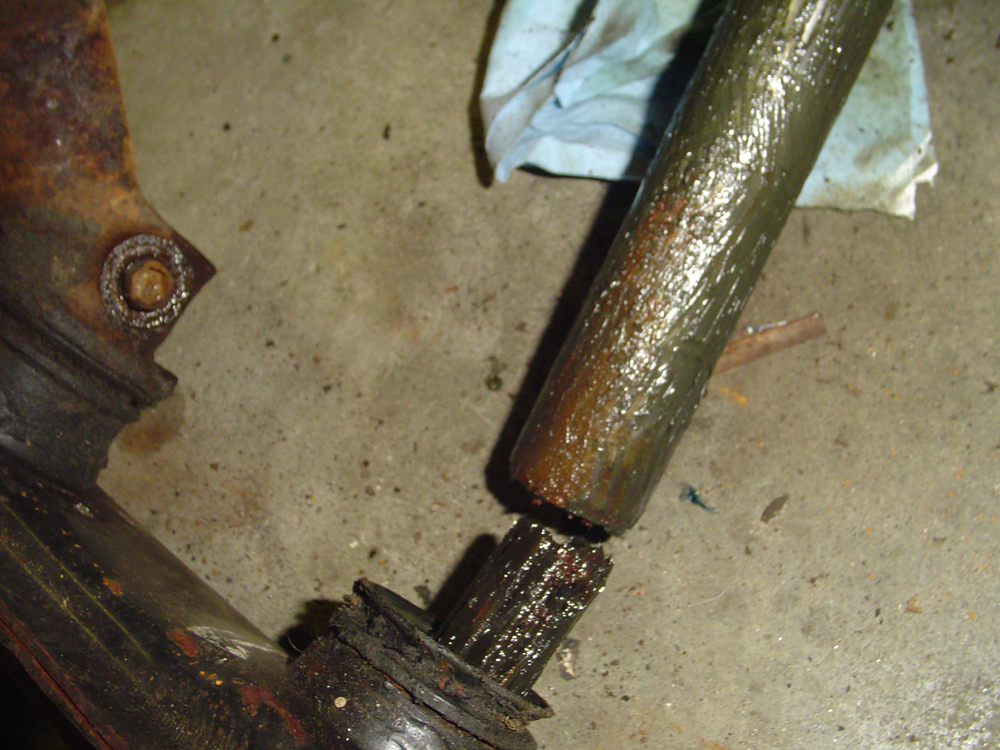
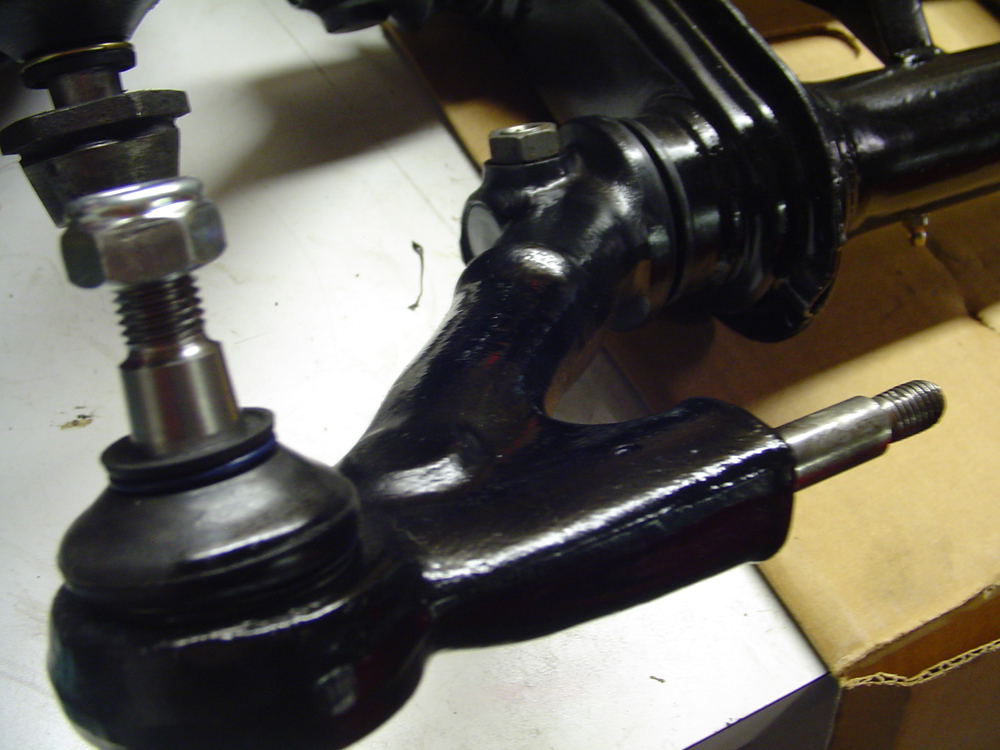
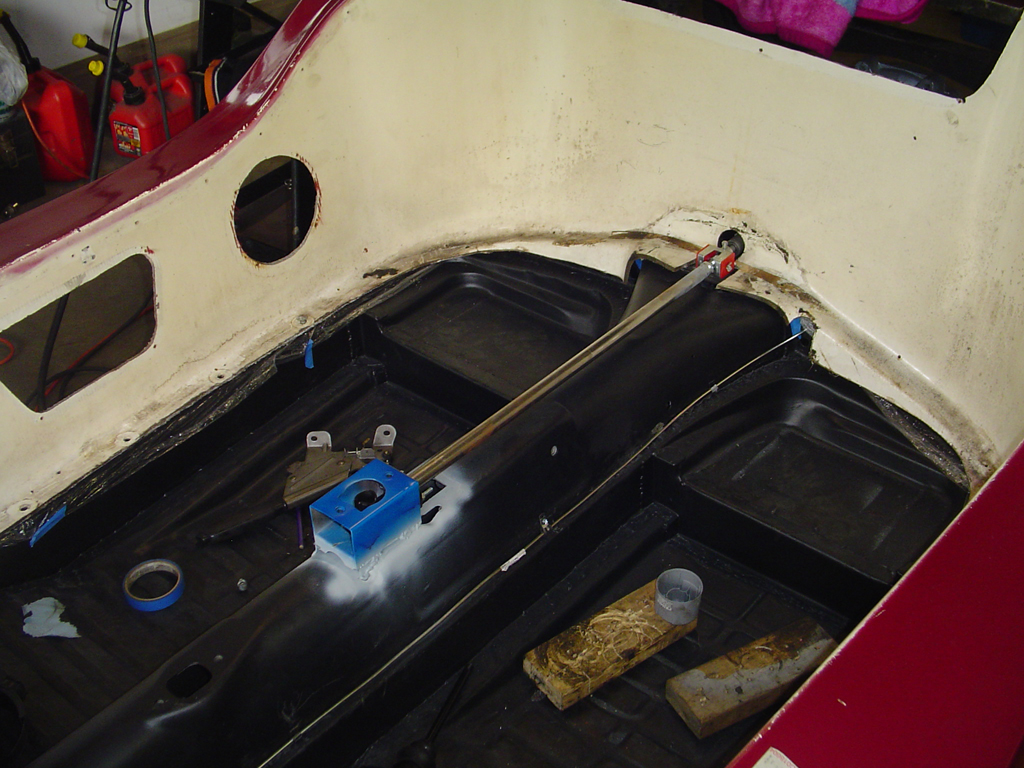
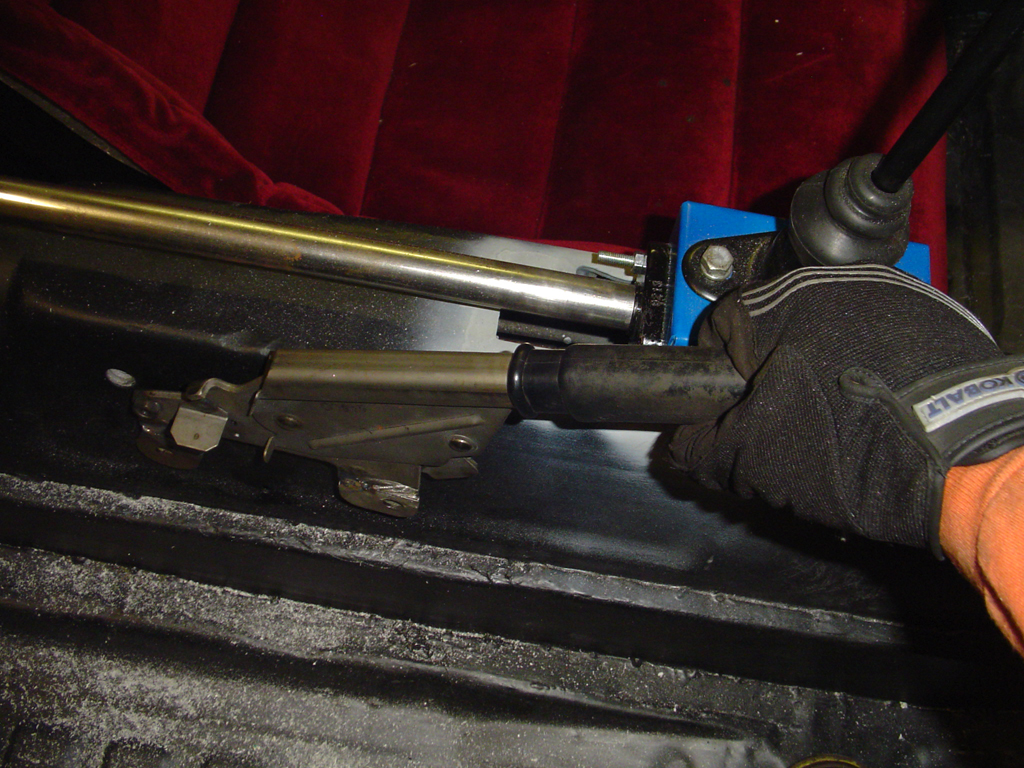
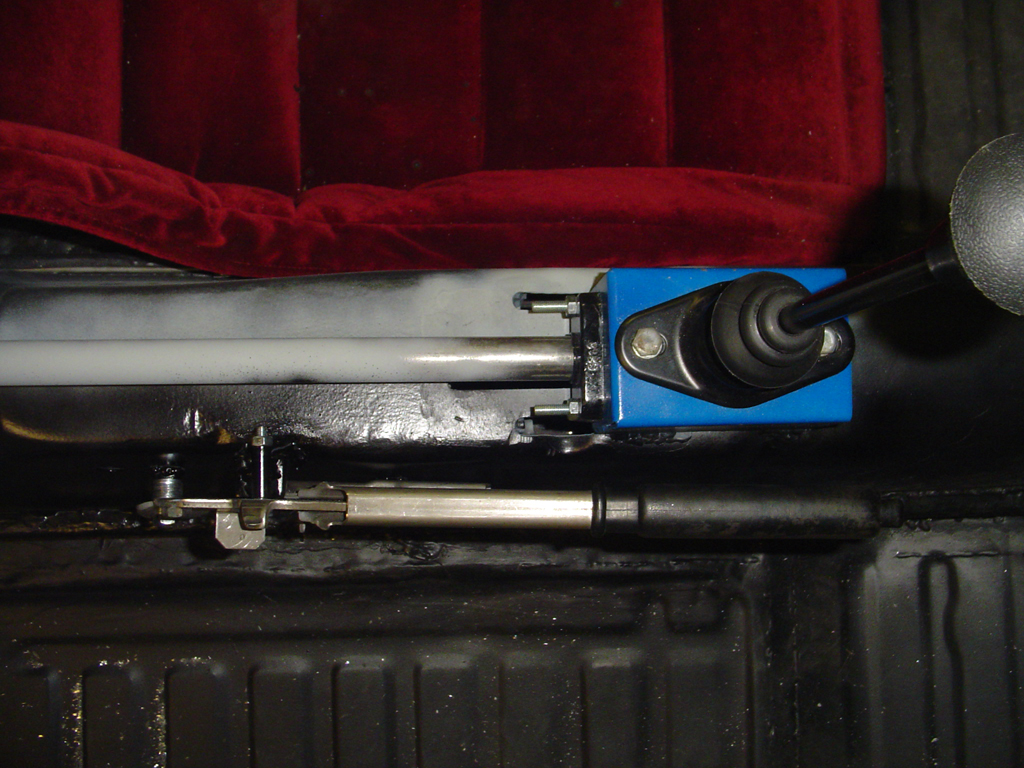
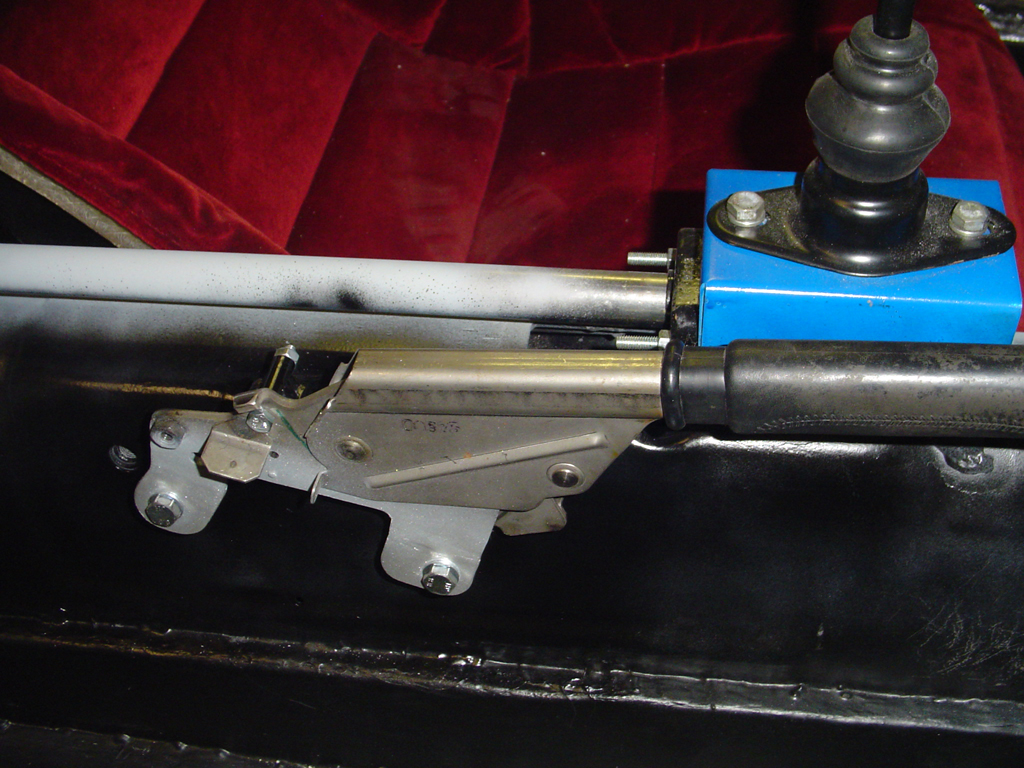
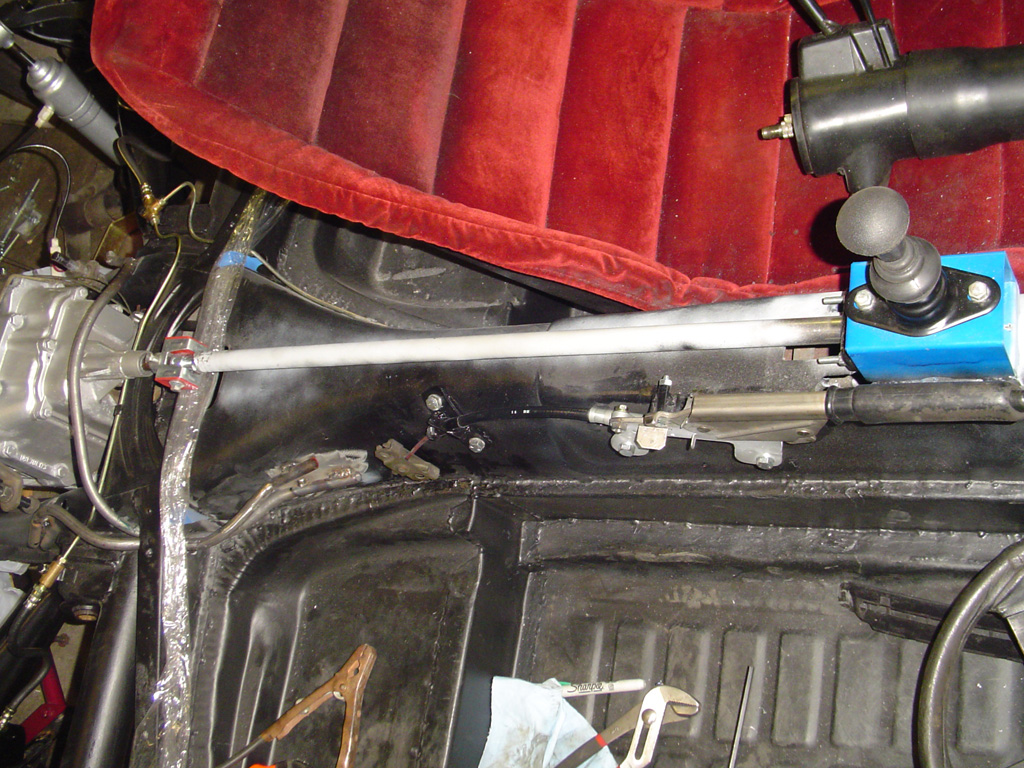
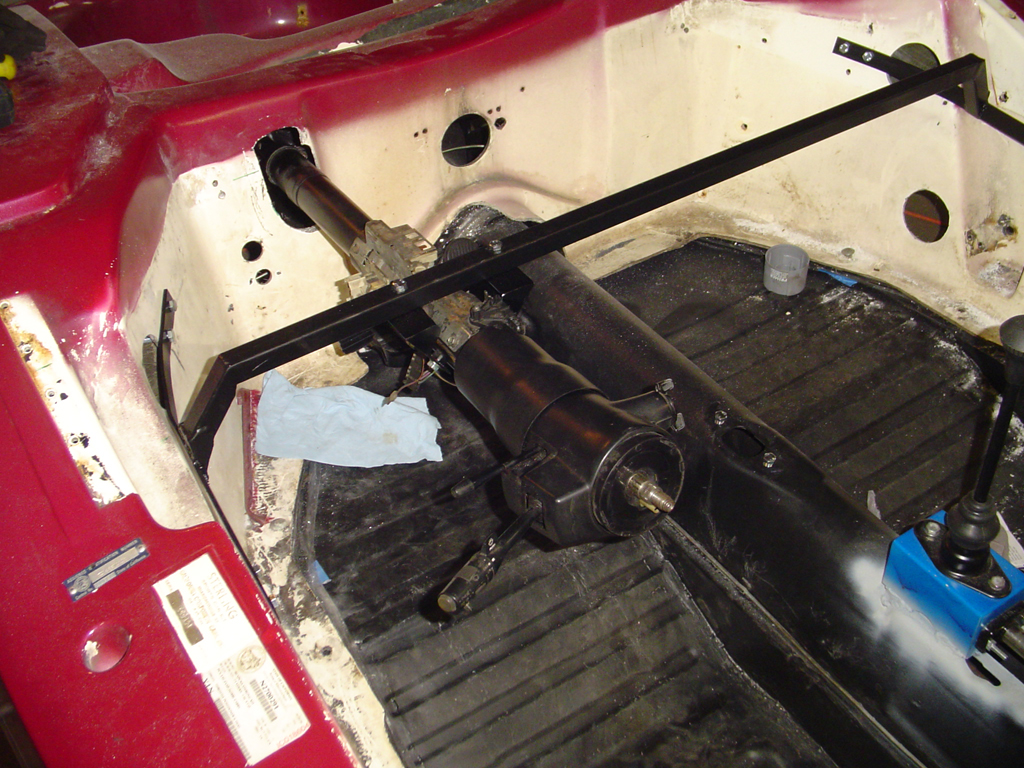
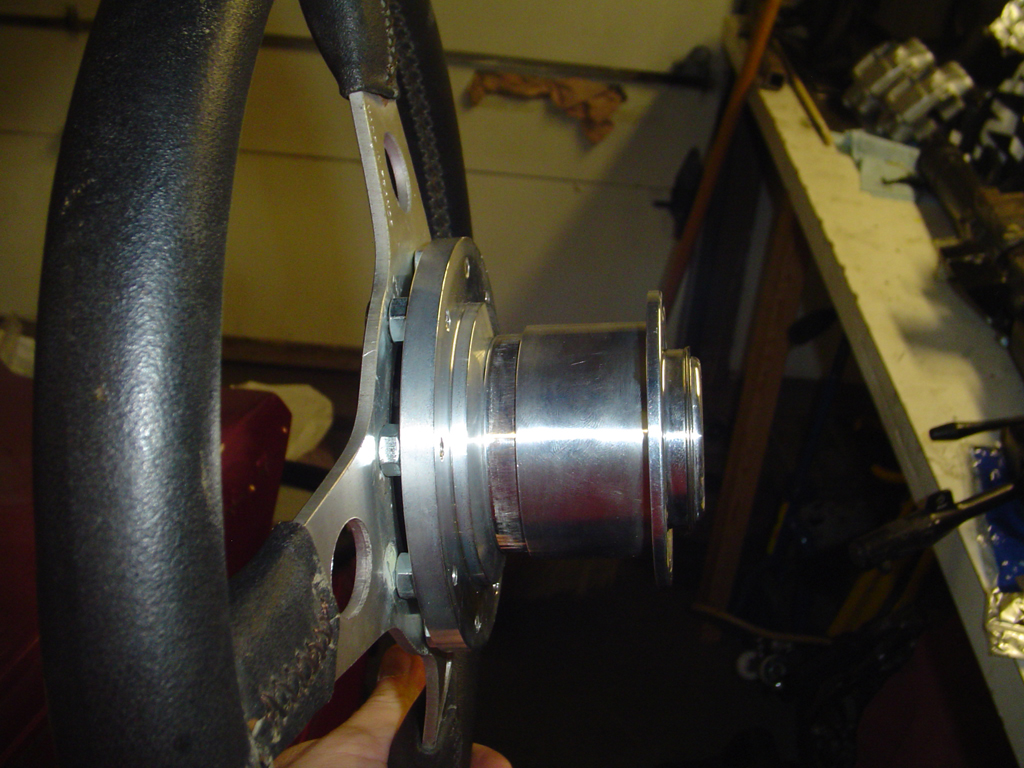
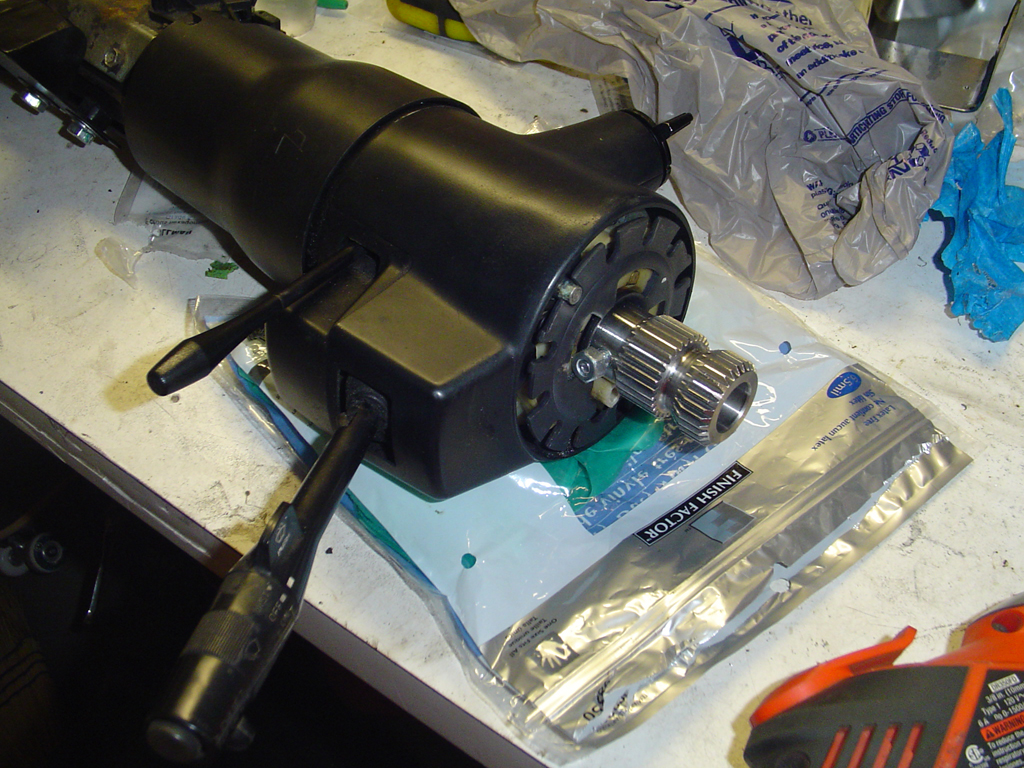
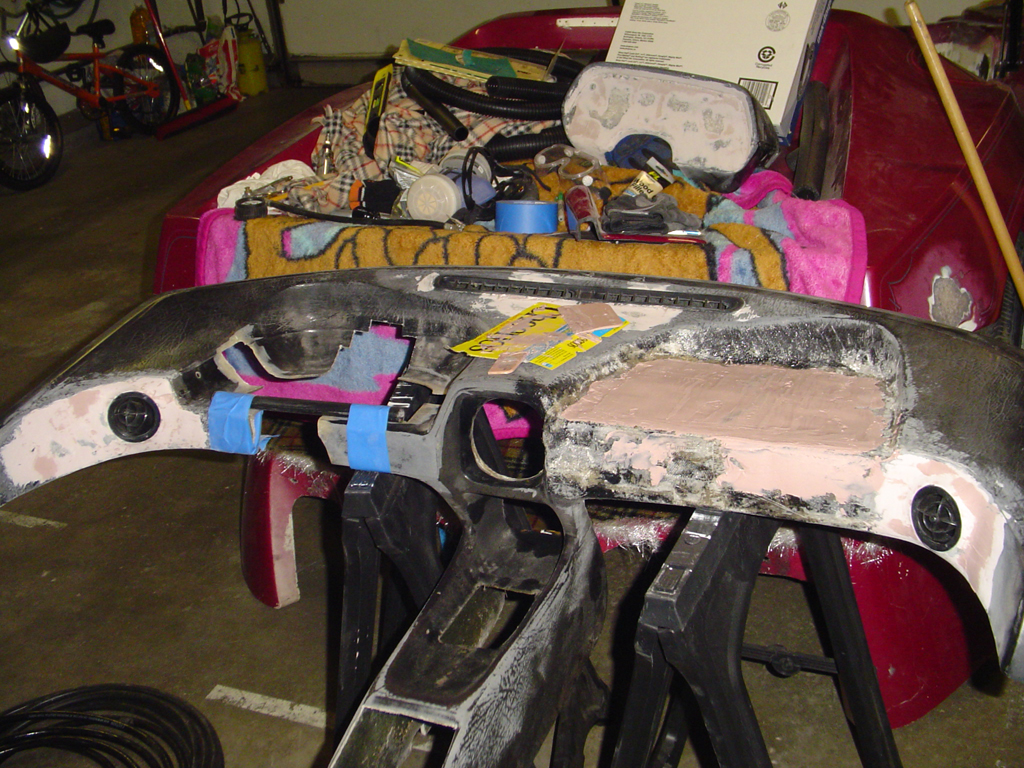
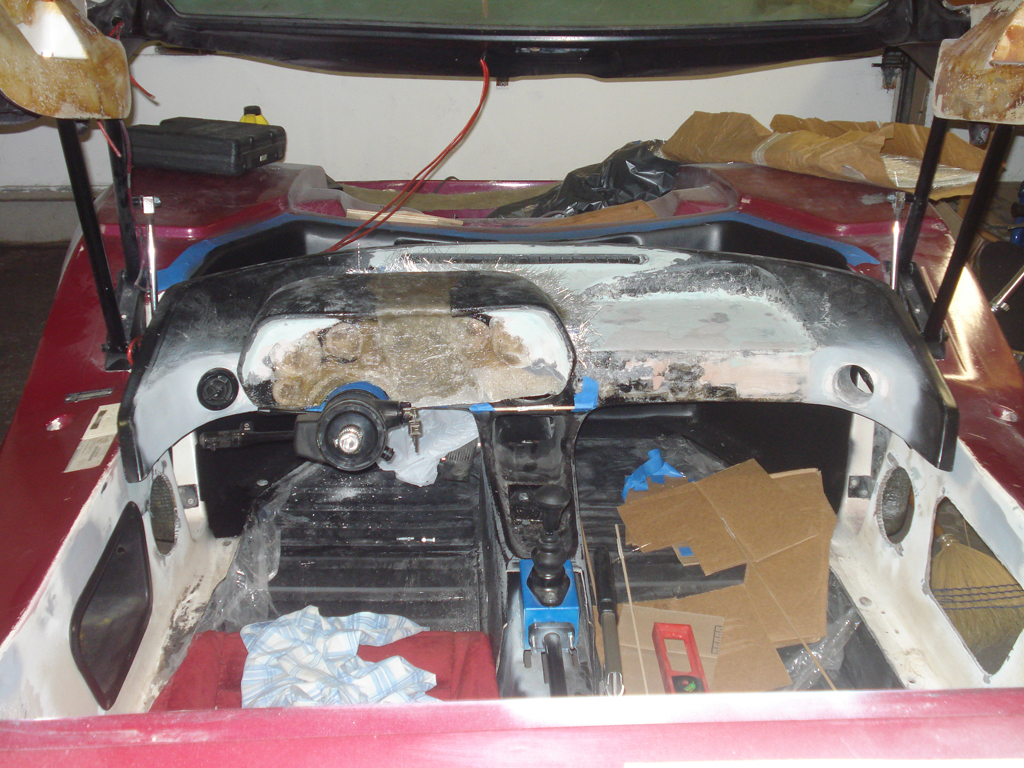
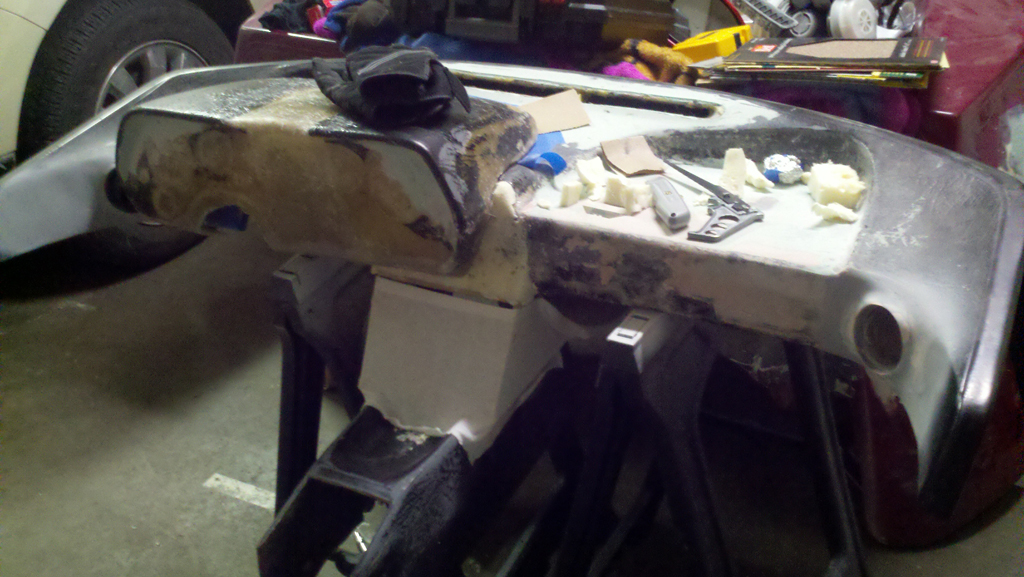
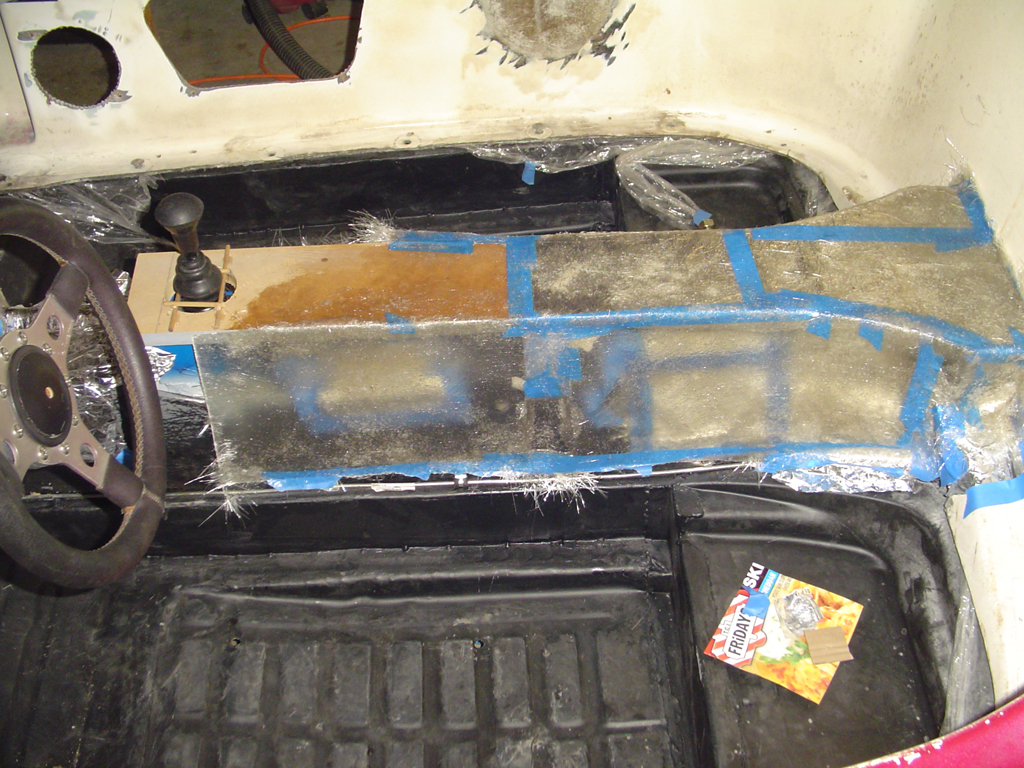
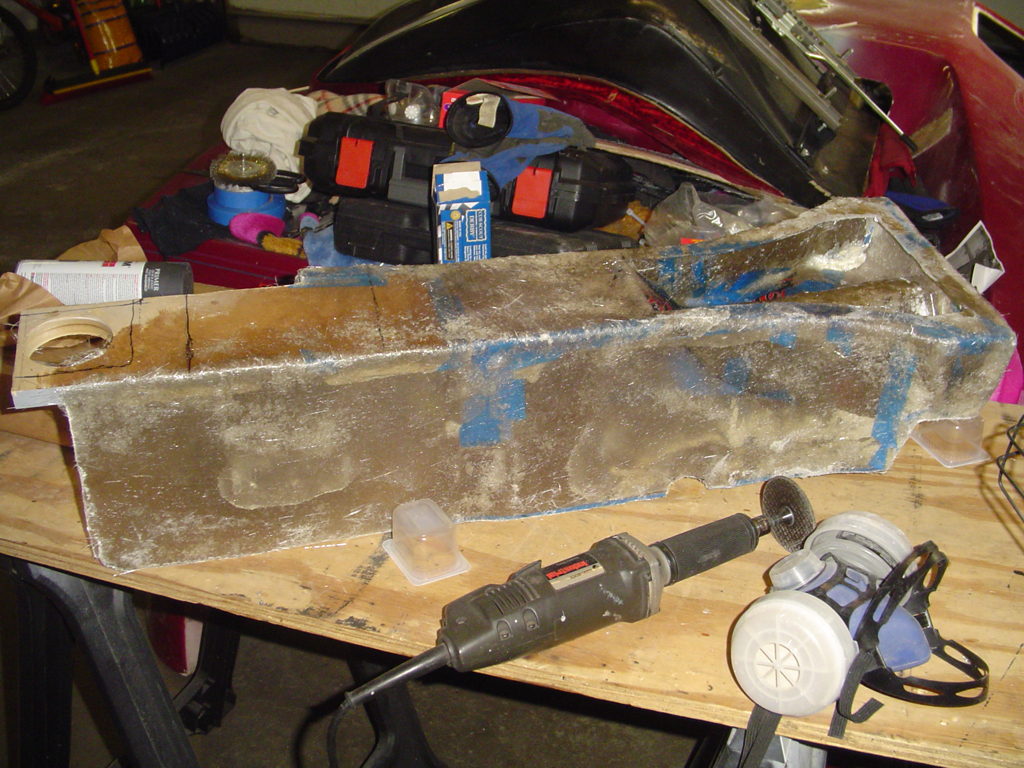
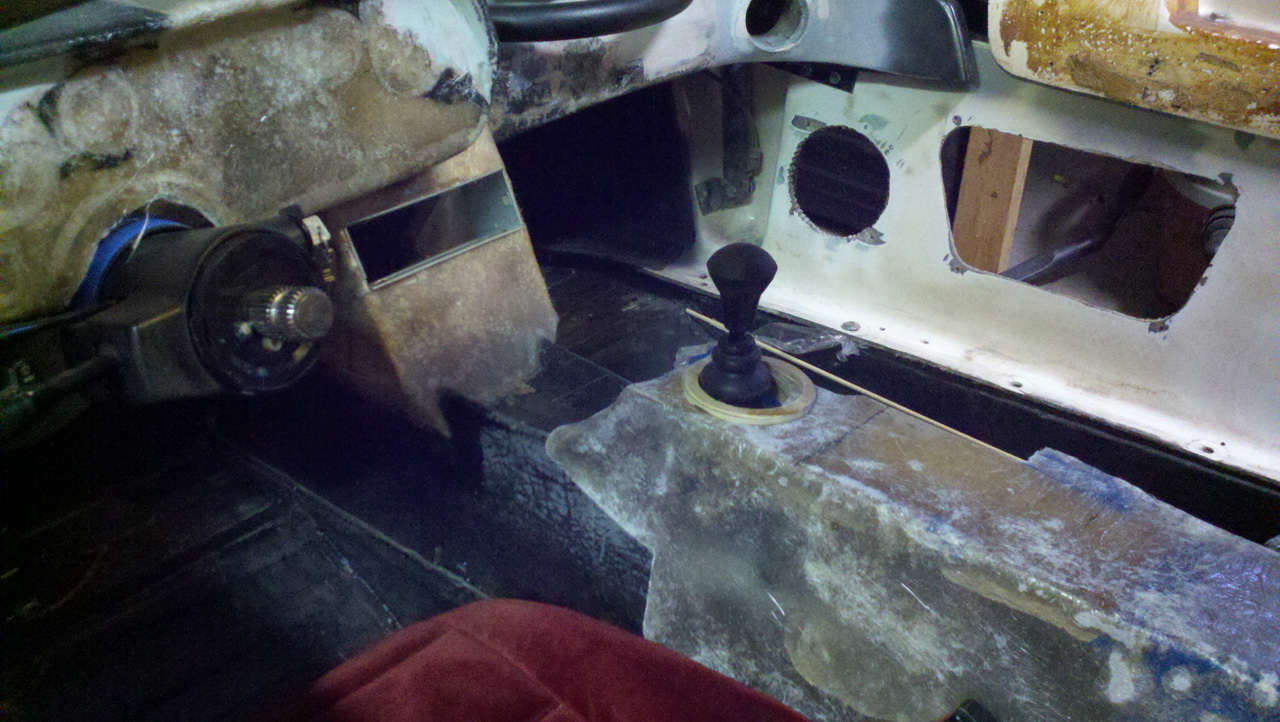
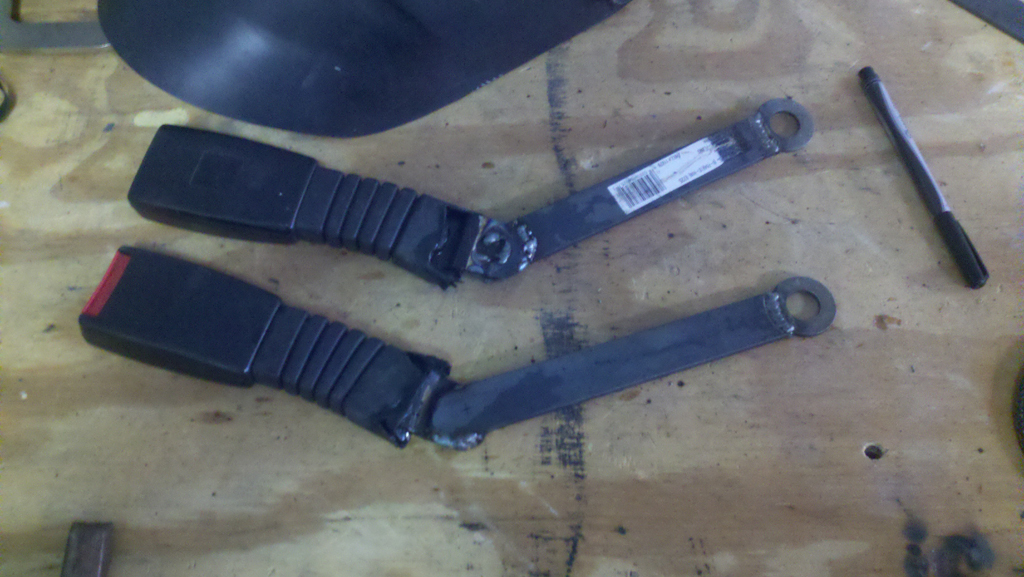
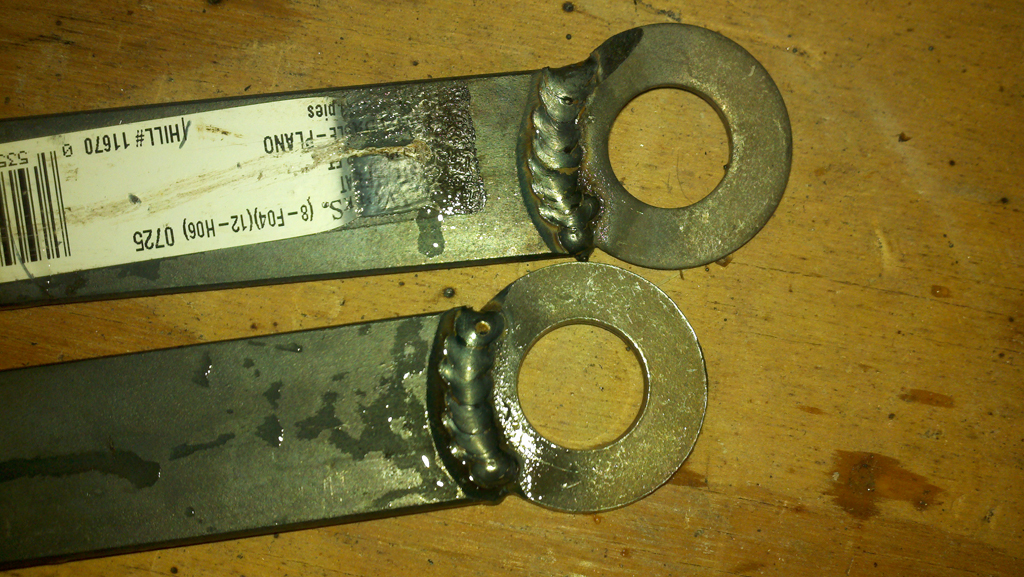
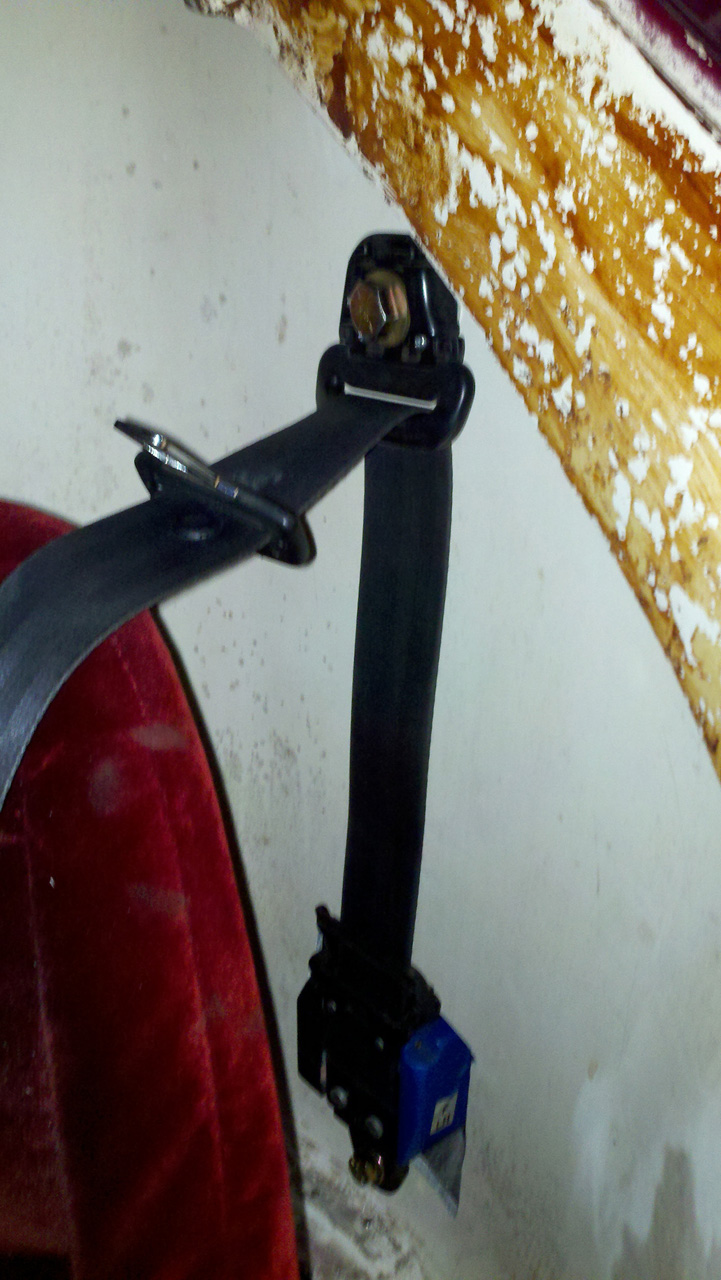
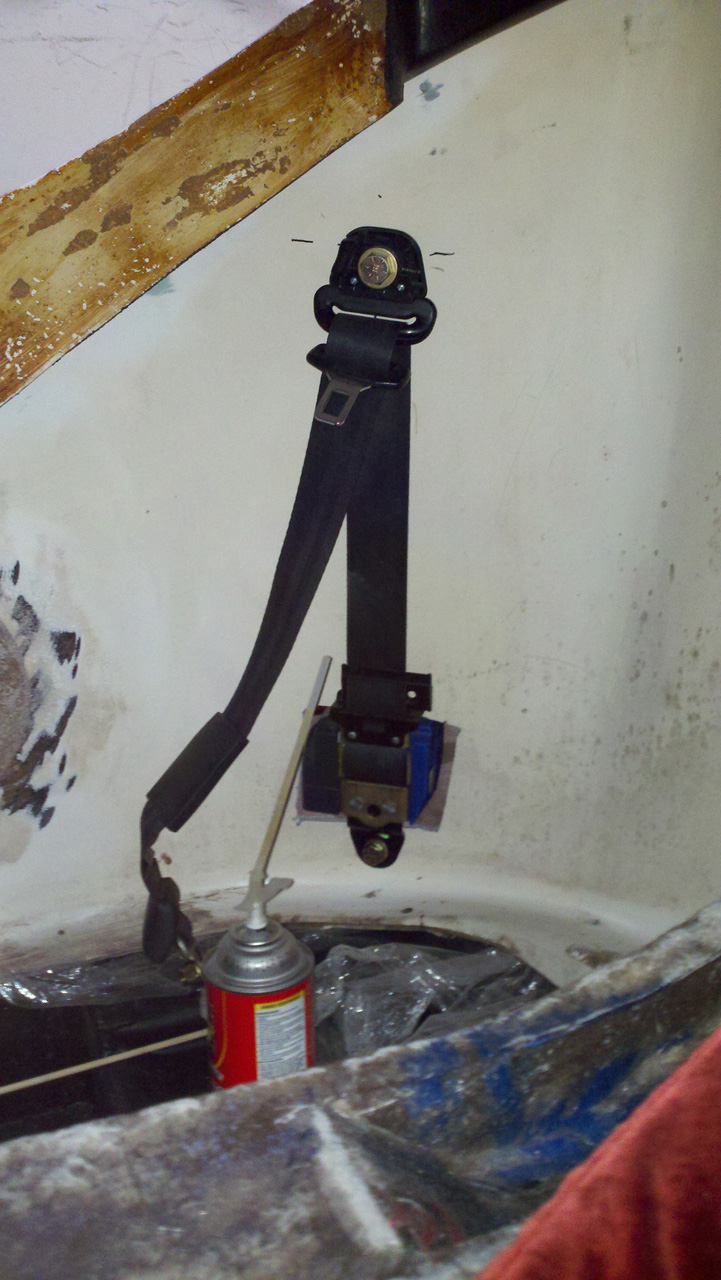
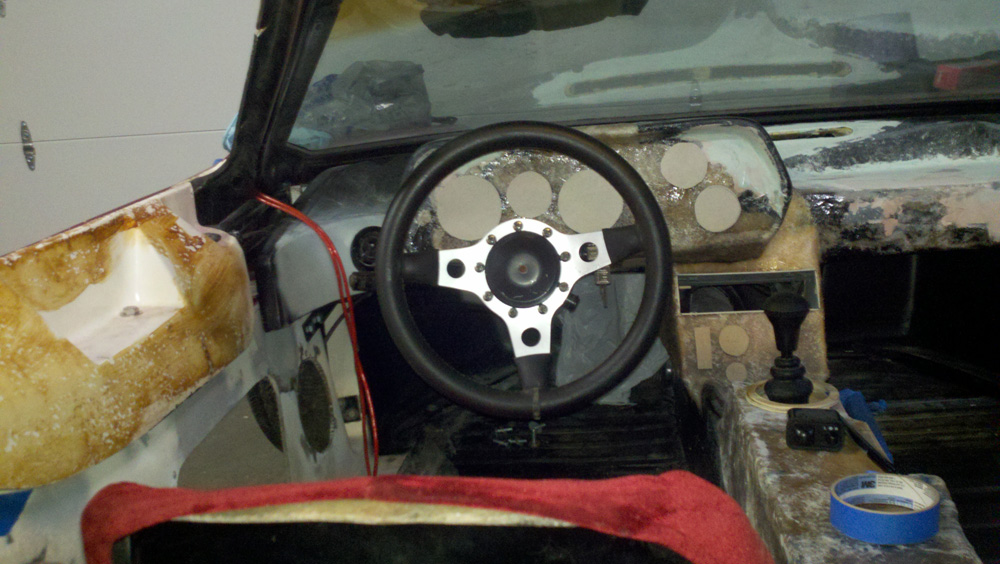
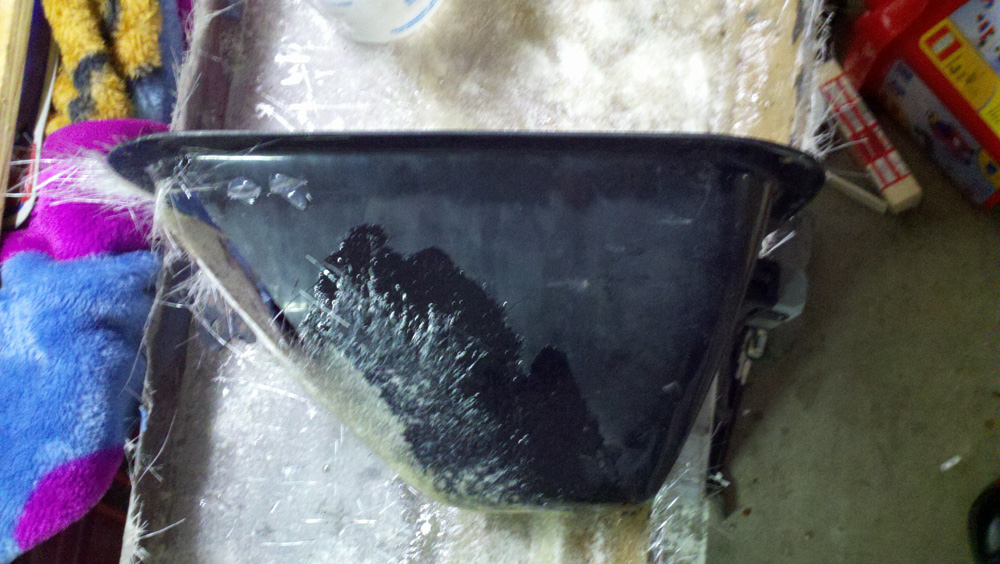
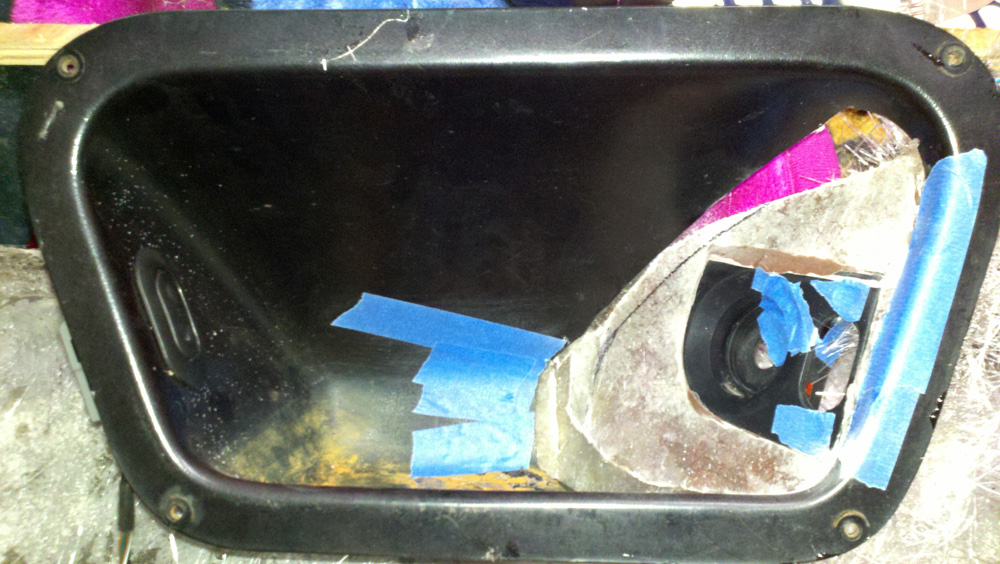
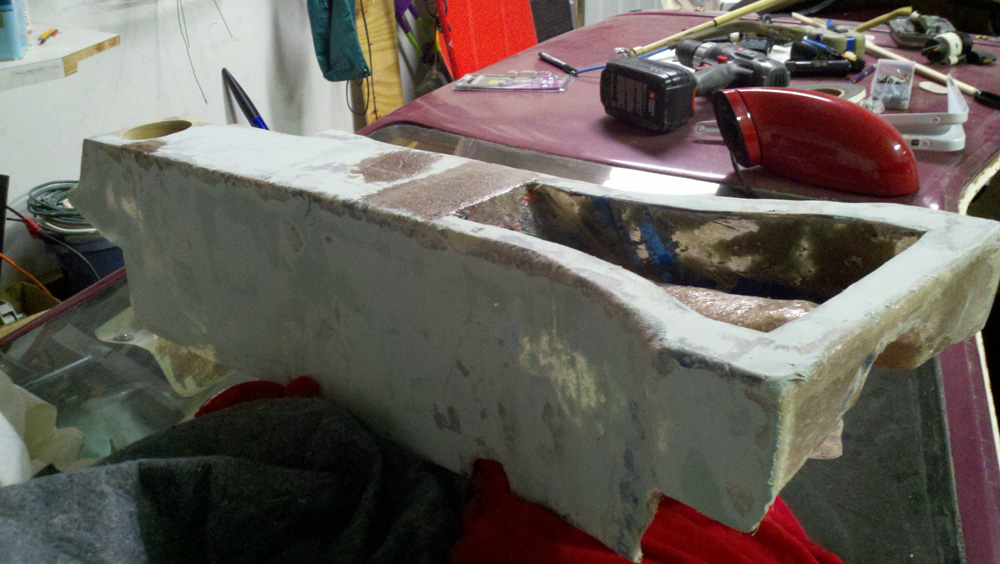
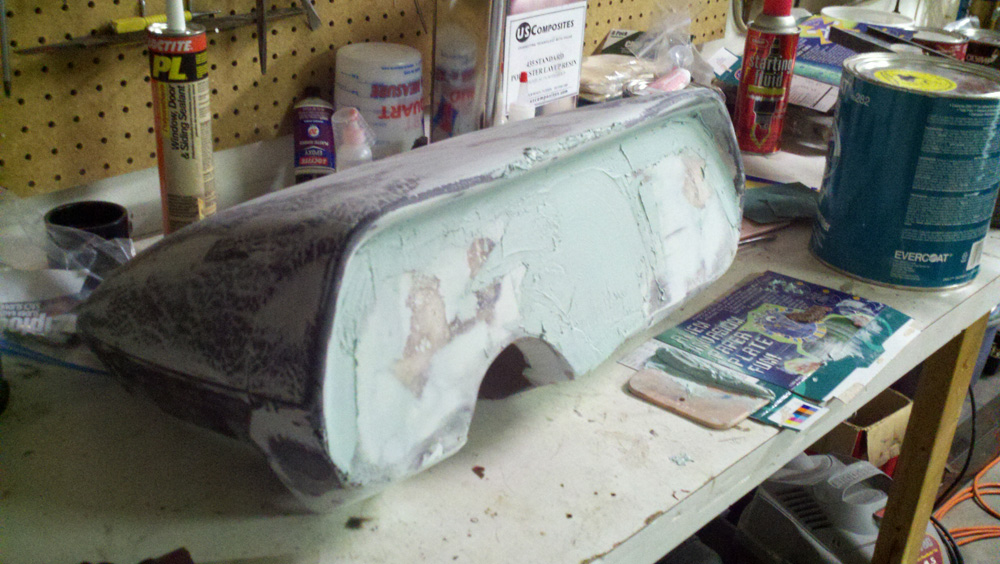
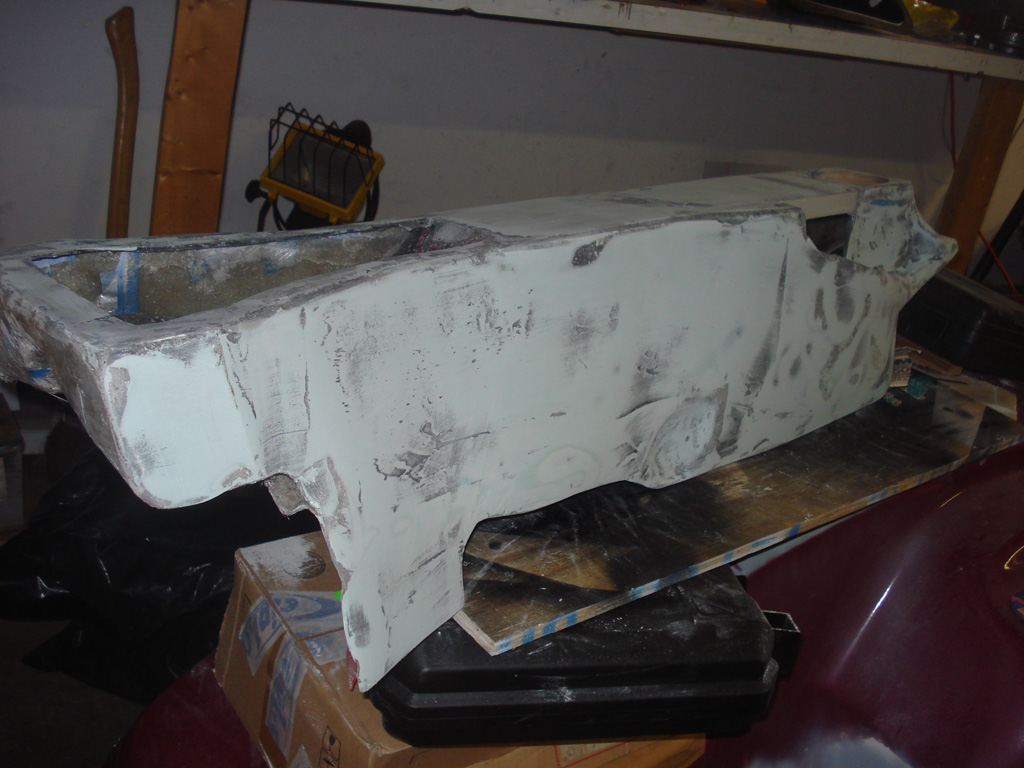
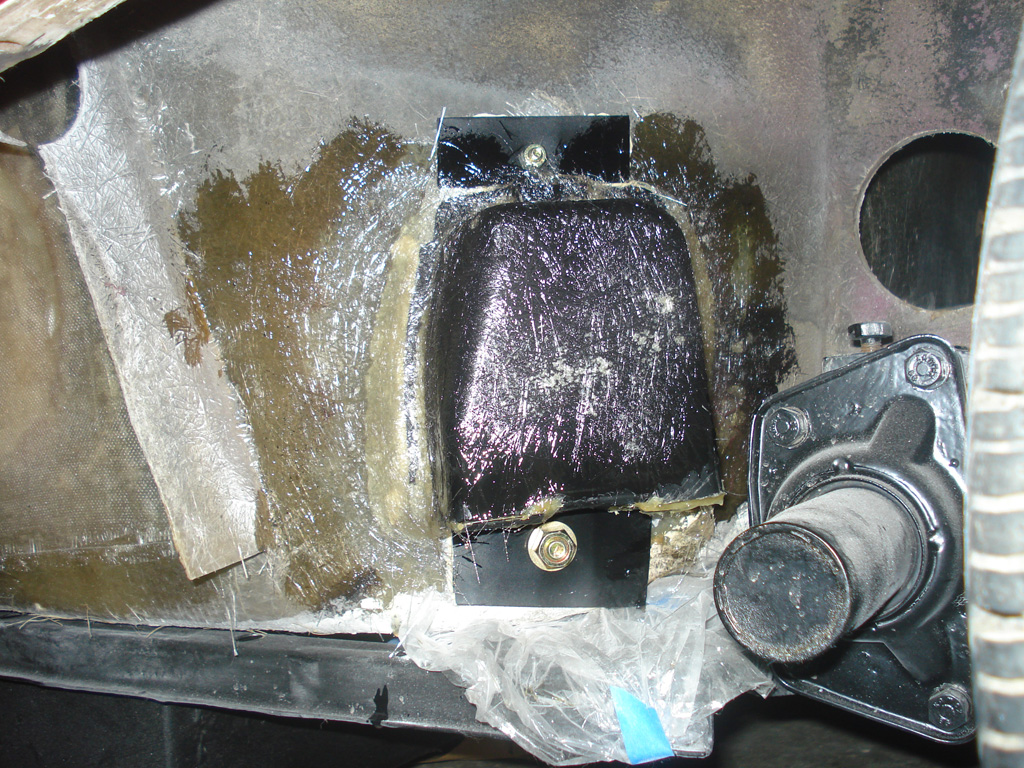
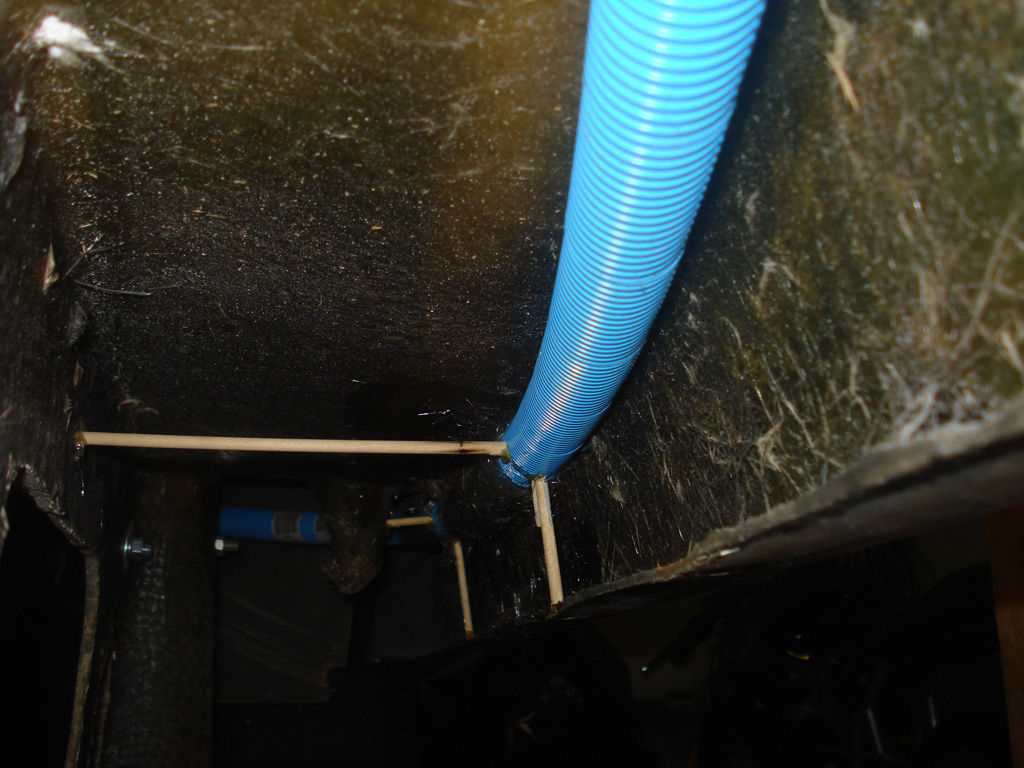
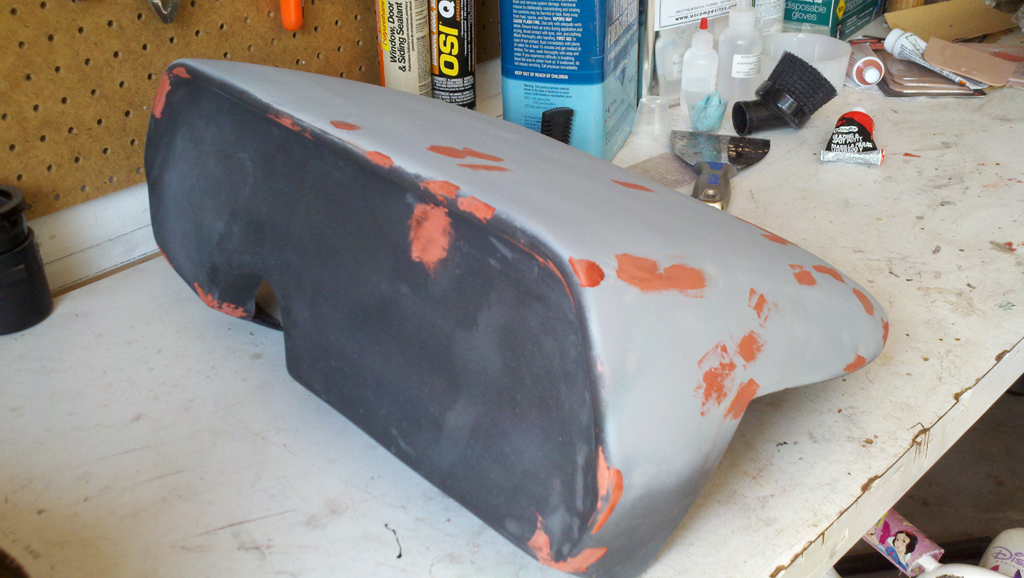
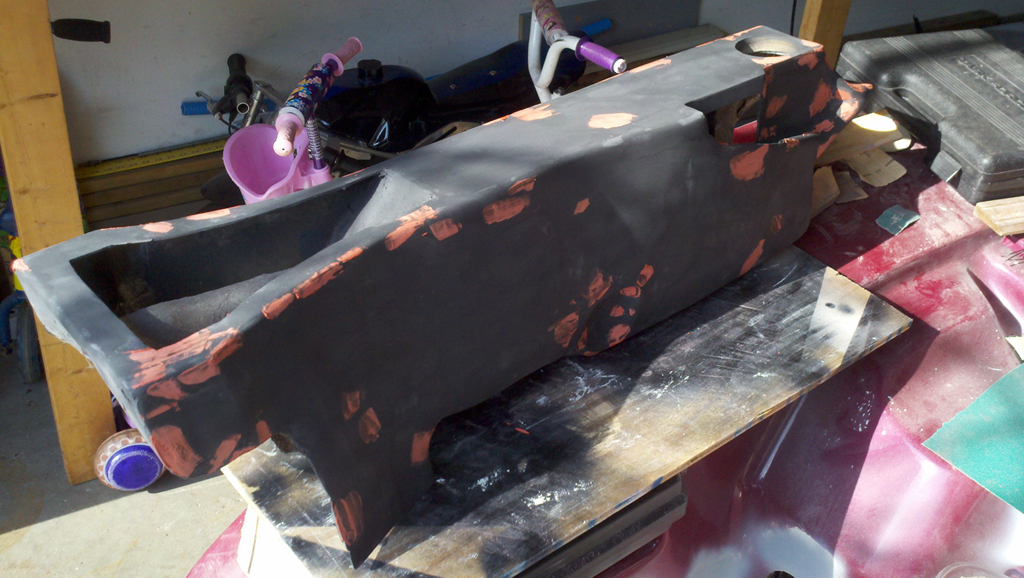
I apologize now for just the pictures of the progress and no descriptions, but I think they are self explanatory.

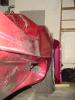
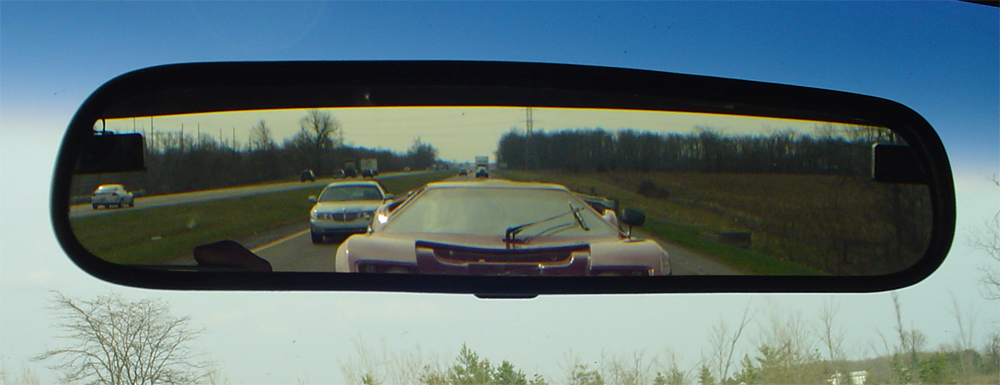
For Sale Ad Pictures


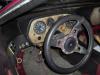
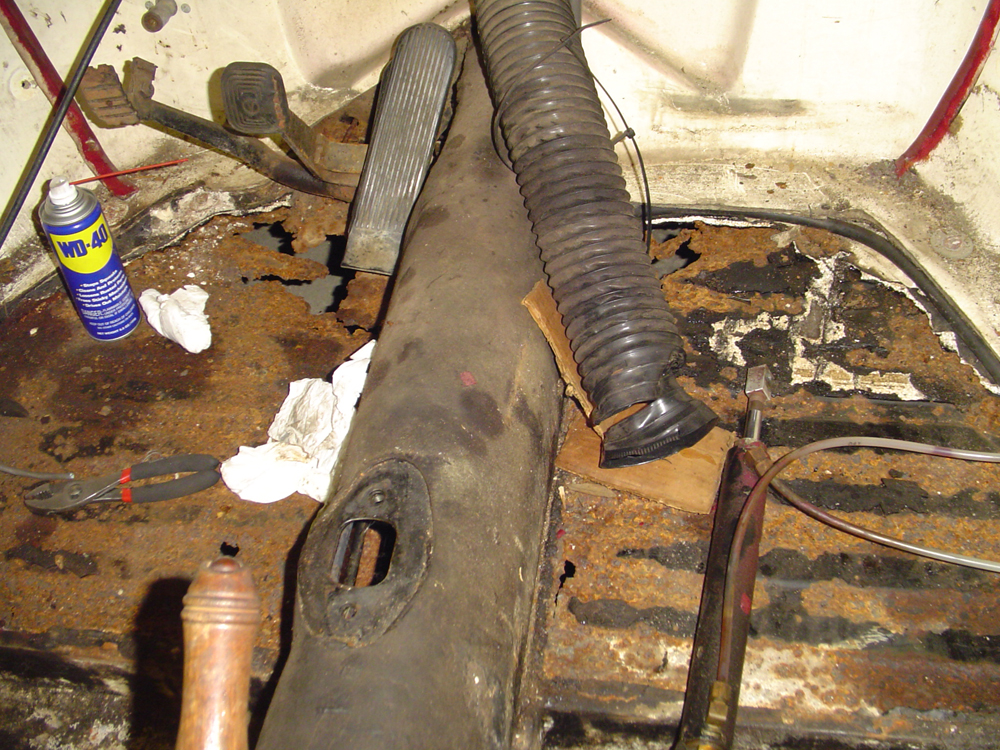
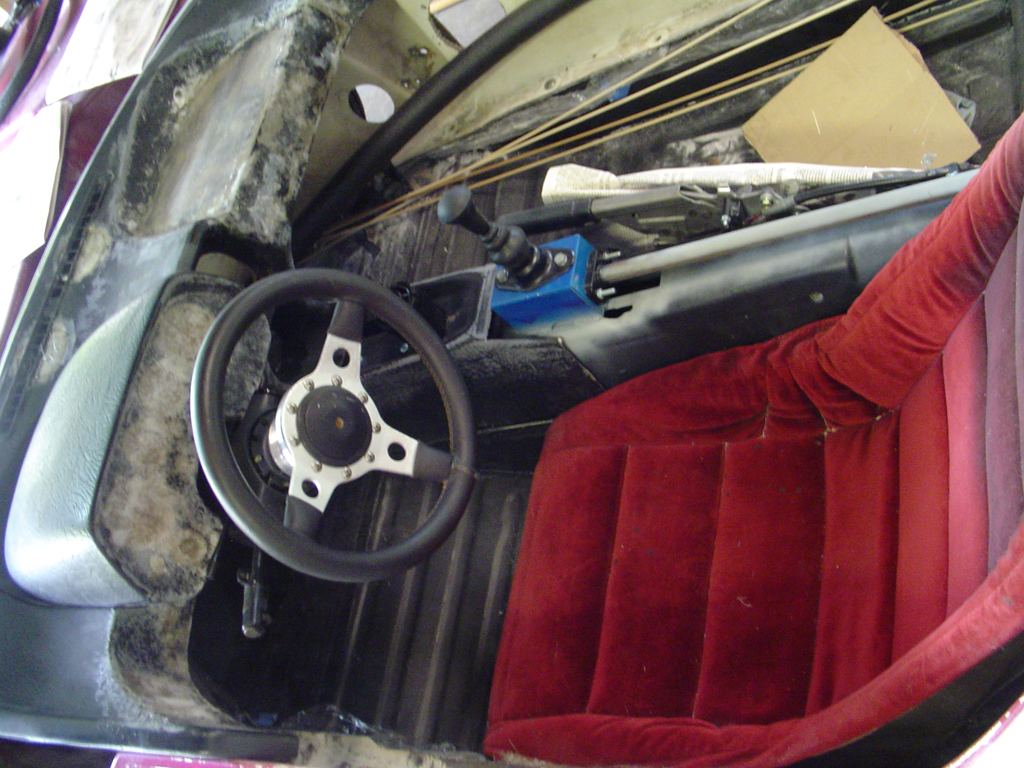
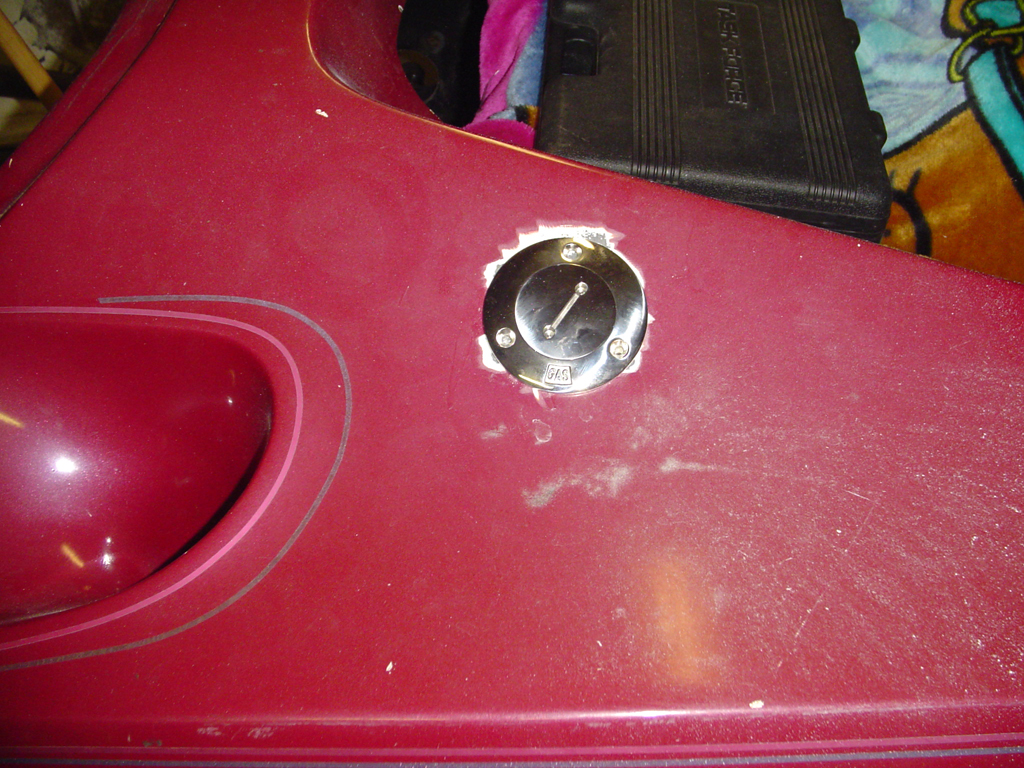
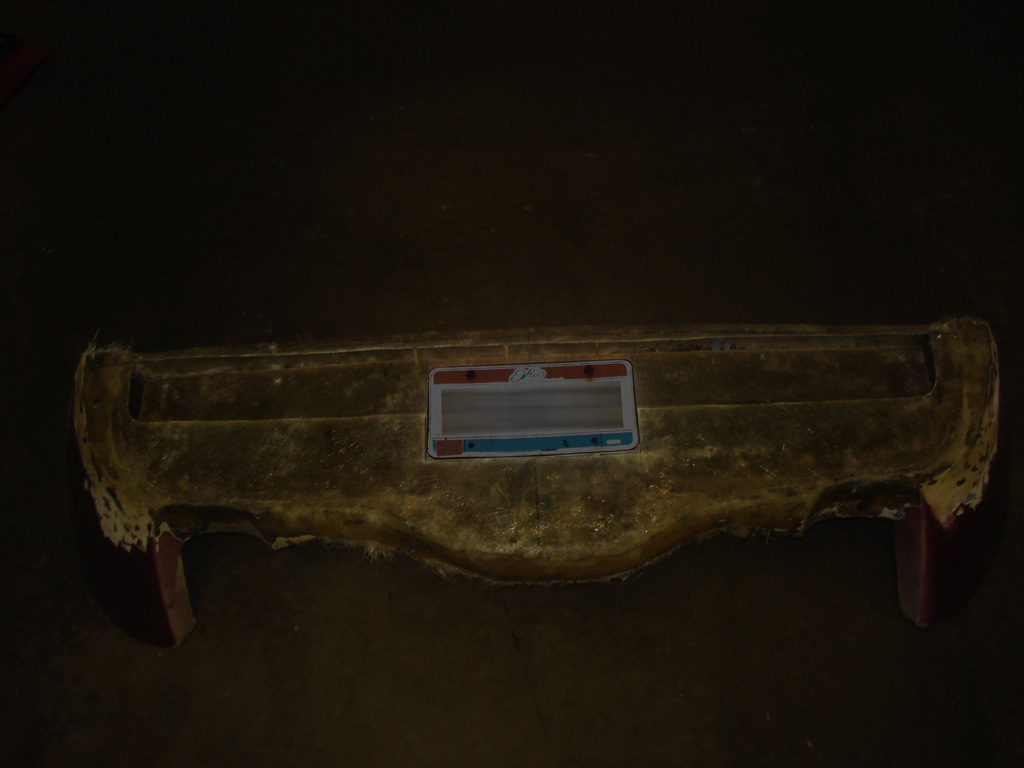
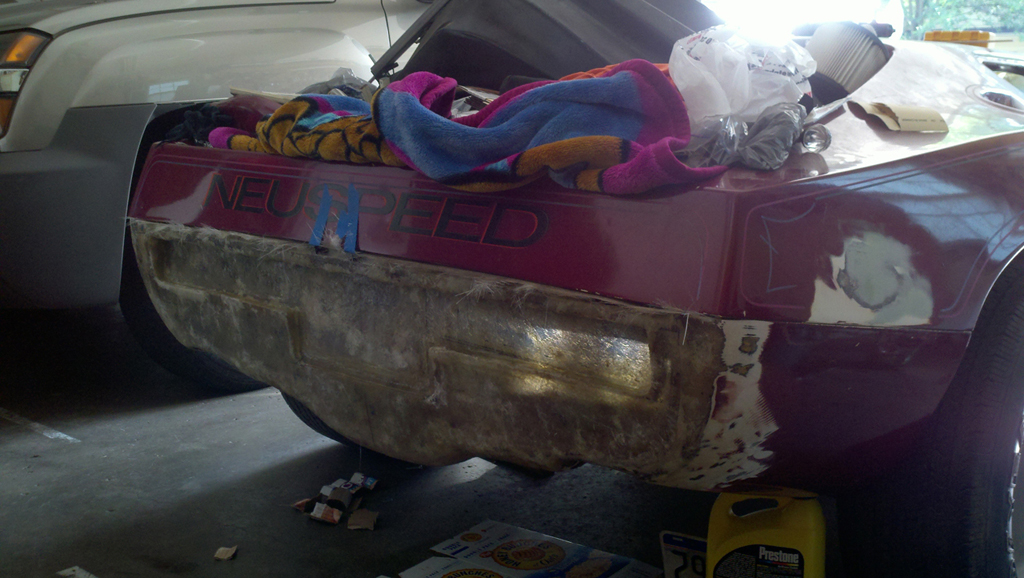
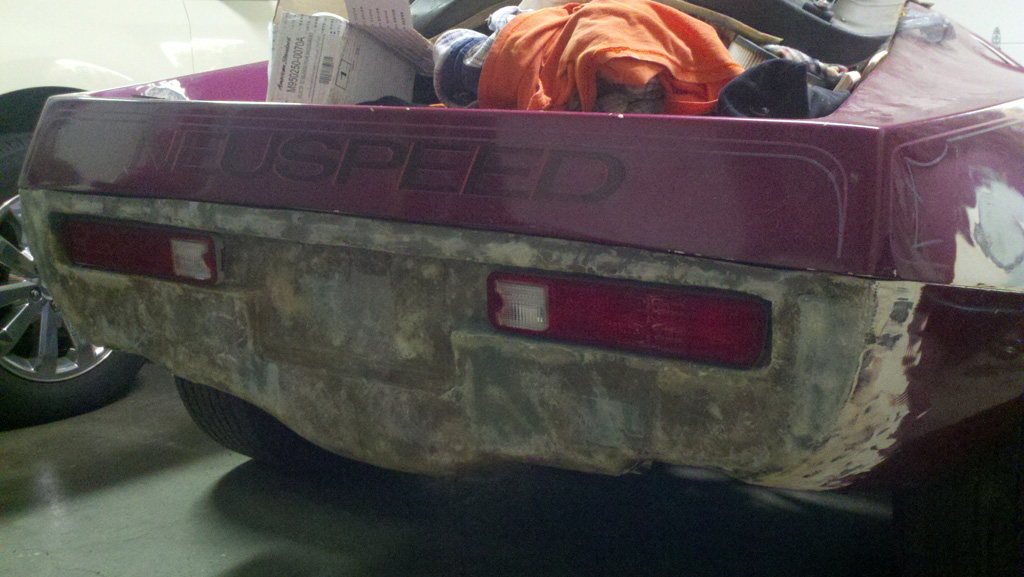
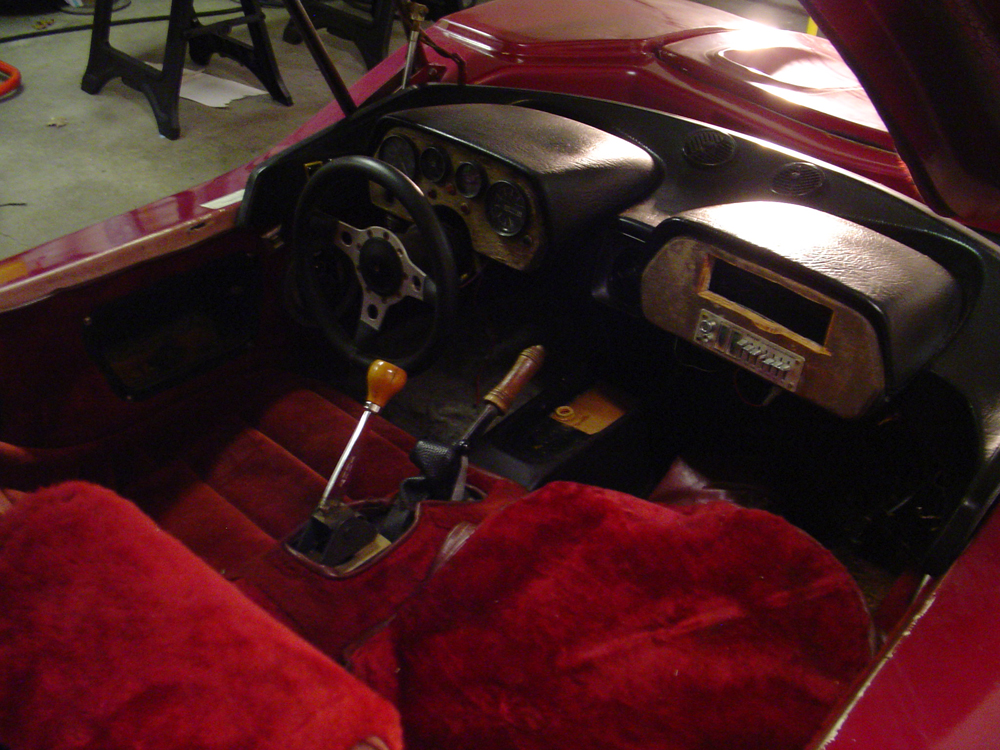
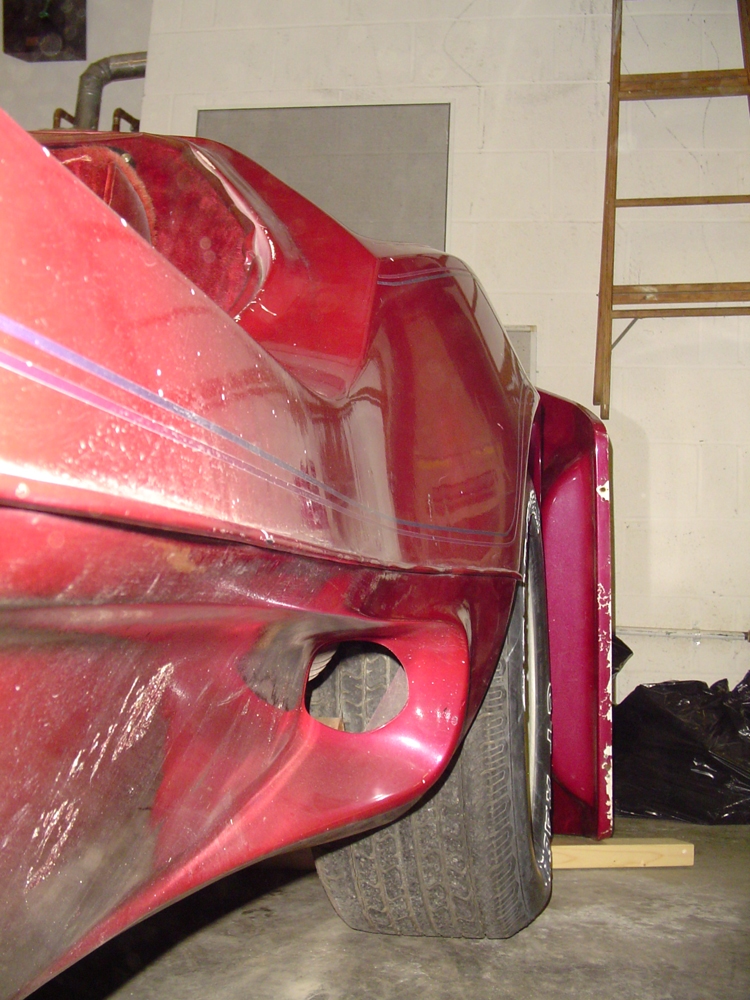
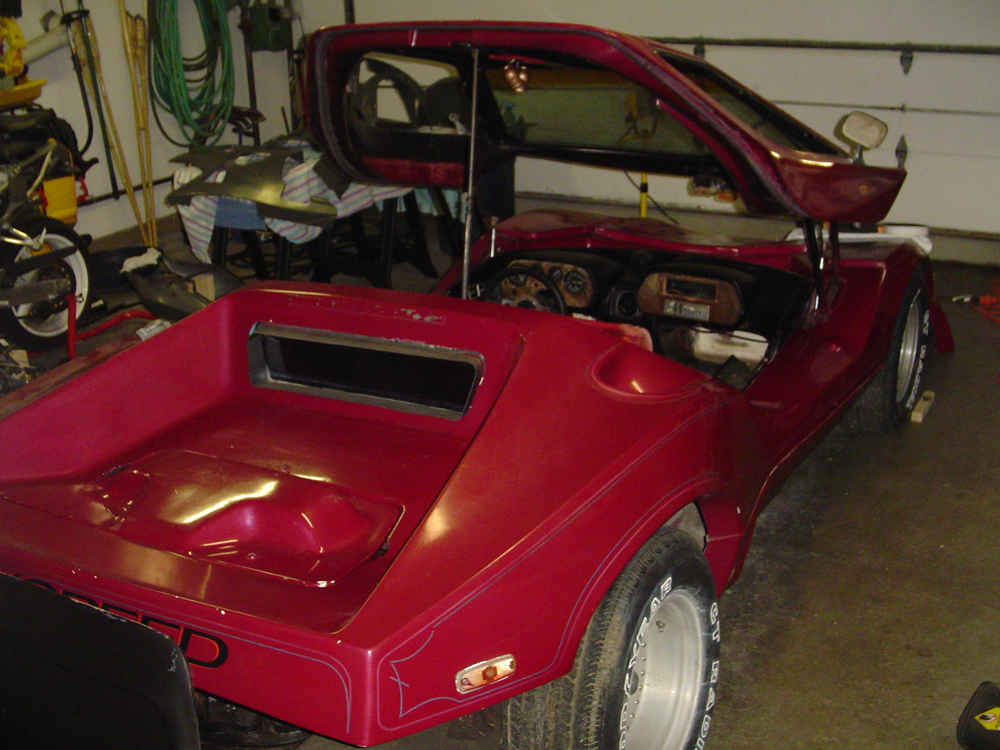
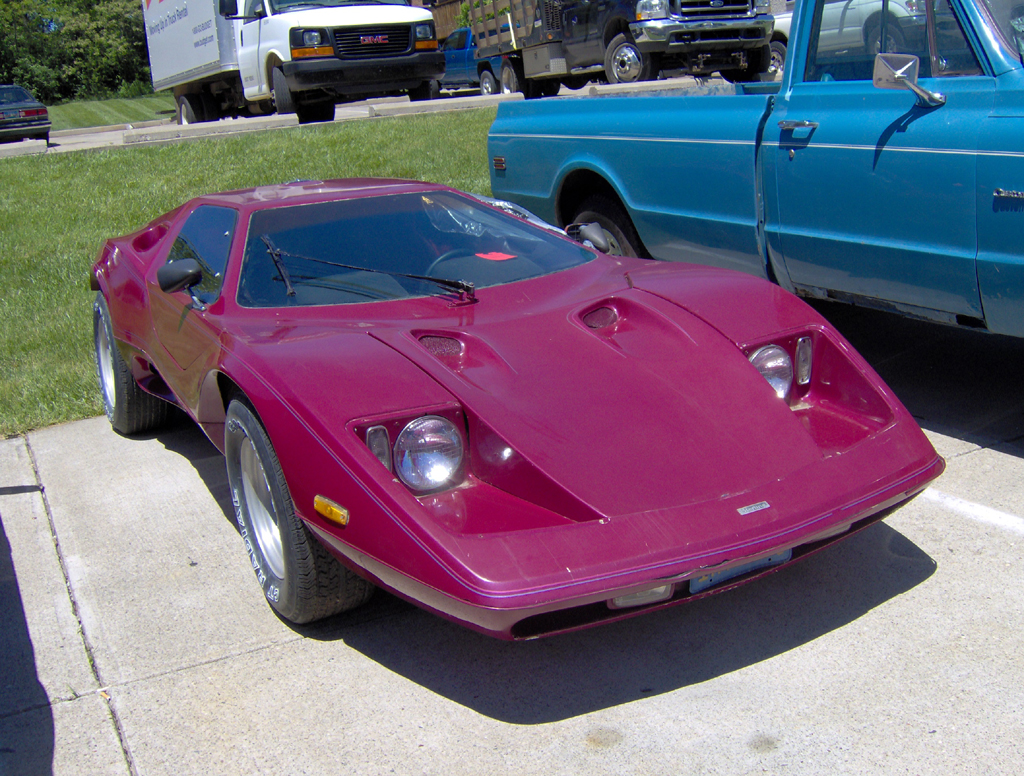
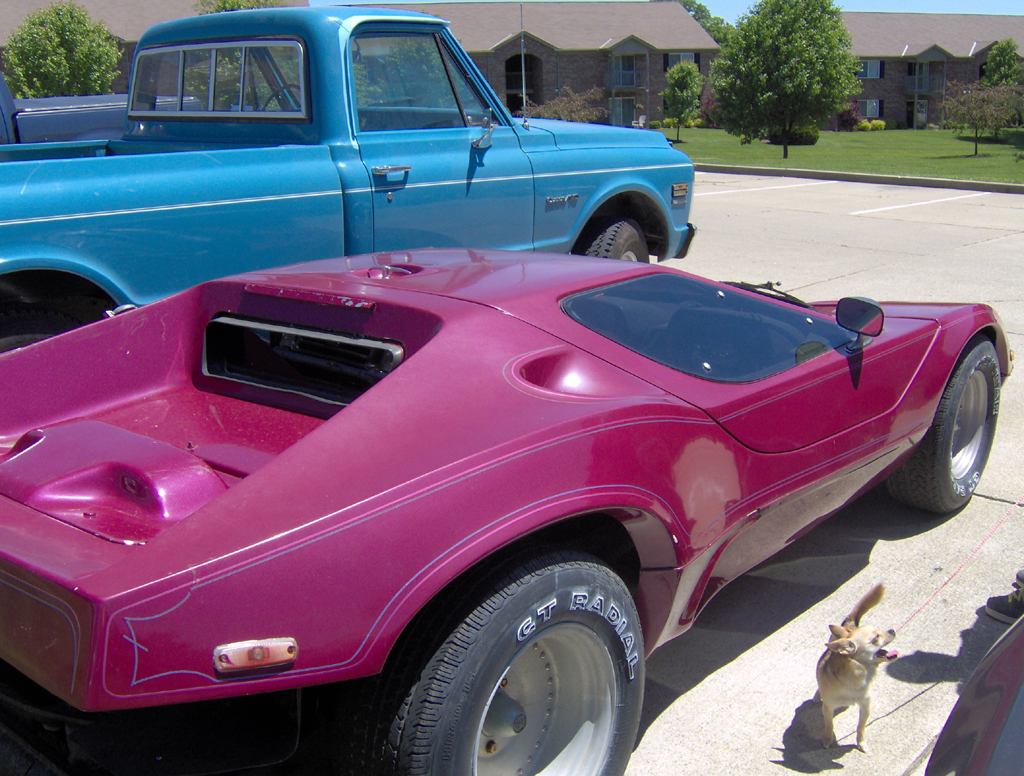
On the way home and the first inspection.
 
Last edited:

farfegnubbin

Site Owner
Staff member
Hello sir. *hi-ya*

Thanks for posting those photos to the site. Having followed your posts on the UK site, I've always felt you've done a nice job of documenting some of the mods / repairs that we all have to account for during our own builds.

Again, I appreciate you sharing your work. It's cool to see your project coming together. *thumbs up*
 

vpogv

Active member
Thanks for the compliments. I enjoy seeing progress, hence the many pictures and updates to come. Things have been slow on the care lately but more to come.
 

vpogv

Active member
Back with more to catch this thread up with where I am:

Gas Cap


Dash Redesign and Center Console


Front and Side Markers (LEDs)


Seatbelts


That's where I am. More updates to come as things progress.
 

vpogv

Active member
Rear 'bumper'


Dash layout: All gauges are visible with the steering wheel attached with extra room on the right for additional warning lights. If you look just to to the right of the ignition key you can make out another cardboard piece on the underside of the pod - this is where I will place the mirror switch.


Side pocket: Side pocket modified to fit the headlight switch at a usable angle. I also decided to place the switch for the canopy on the adjacent side which is easy to reach and out of the way. I had planned to put this switch elsewhere but it just didn't fit.
 
Last edited:

vpogv

Active member
It's a sad day when I have to look on the forum to remember where I left off with the car. That being said I spent an hour in the garage tonight for the first time in over 3 months and I couldn't remember where I left off. Long story short; I need to get the body mounted permanently so I can throw the engine in and move on. Lots of filling and sanding to begin with the interior pieces and still need to address the rear modifications. *sigh*
 

vpogv

Active member
Managed to get some time in the garage this past Sunday. I backed out the wife's car and set up a nice sanding area for the dash pod. Got a few coats of filler on and a whole lot of sanding done. It's getting there - the top is level and working on the gauge area trying to get that nice and flat. Once it's done I will pull the dash out and start filling it. First I need to decide if I am wrapping it or painting as that will change how much work I put into it.

Pictures to come.
 

vpogv

Active member
No big update, just pictures as promised. Another coat of filler on the face of the dash pod to make that nice and straight and probably a few more on the console to get it where I am happy.


vpogv

Active member
Decided that I deserved a spring break this year so I took last week off work with my son and ended up with a bit of time in the garage to get some work done. Didn't get a lot done but some work is better than nothing.

Sanded out the center console and dash pod then threw a light coat of primer on it to get my low spots. Here it sits right after sanding the primer off. I have the final coat of filler on both then will just do a bit of spot putty to finish it up. Still on the fence about if I want to put fabric on it or paint but for now paint is cheaper.


Glassed in the seat belt buckets and the 1" conduit for the wiring. Nice to have those done finally.


Laid a few more layers of glass on the rear bumper/ valence then proceeded to measure, re-measure, level and chalk line then made my cuts. The goal is to recess the lights and license plate once that is done I will see what else, if anything to do with the lower portion.


Hoping to finish up the sanding on the pod and console this week and then pull the dash and start getting that complete.
 

letterman7

Honorary Admin
oh hell... I never thought about setting the seatbelt pulley into it's own little pod. Nice lateral thinking! I'm assuming it still has enough space to move correctly when pulled?
 

vpogv

Active member
Wish I could take credit for the thinking. Just so happens the Jetta I got the belts out of were mounted this way. The seat belt reels are recessed into the b-pillar. I pulled the bucket and the rest of the belt and copied it. Only thing left to do on the seat belts is to mount the lower point into the pan and to seal around the rest of the bucket as I didn't glass to close to the bolts seen in the picture.
 

vpogv

Active member
Slight update. I have been filling and sanding a bit on the dash pod and center console and they are 99% finished for now. Just need to sand the putty that is on there down and then paint. I am only texturing the dash pod as the console will receive some vinyl at a later date so I will just paint it for now for a bit of protection.


Rear is almost done with the glassing. I need to add a few layers of glass still to make the top lip strong enough then off to filler.
 

ydeardorff

New member
Nice work!!
How thick is the glass on that rear panel? I know fiberglass is fairly translucent but, your rear panel looks to be very thin.

Im sure your still in work on it. I was just curious.

What lights are you going to be using on your rear panel?
 

vpogv

Active member
Close to 1/4" thick - probably 8 or so layers of 1.5oz mat. It doesn't even flex with a hand press so it's not going anywhere. Morning sun plus no air bubbles on that section makes the look thin for sure.

I am sticking El Camino lights in it. Not completely set on flush mounting it in the recess or actually recessing the lights in the recessed space. I will cut out the holes for the lights and then decide.
 

letterman7

Honorary Admin
Nicely done, Pog! It's fun to watch how projects evolve and the different approaches to similar problems. Keep at it!
 

vpogv

Active member
Those el camino lights should look good in that recess. Will you go for an LED upgrade?
Thanks ydeardorff - I hope the look nice tucked in there. I will go LED at some point for sure, just have to see what the 6 total bulb sockets will cost first which will decide how soon I will do it.

Nicely done, Pog! It's fun to watch how projects evolve and the different approaches to similar problems. Keep at it!

Thanks Rick!
 

vpogv

Active member
I have been plugging away at finishing up the interior. Last bit of putty went on last night and hopefully tonight I will call the console and dash pod 'complete' (minus paint). Over the last few days I finished up glassing the rear section and even cut the taillight holes in. Of course I had to put it on the car to get a feel. :cool:

2012-08-19_21-31-50_755.jpg


2012-08-19_21-40-46_683.jpg


Very happy with how it looks. Next I will cut in for the side markers, a few coats of filler to get things straight and then I will deal with getting the lip straight where it meets the body.
 
Last edited:
Top